DIY Color Block Chair

Transform a plain chair into a statement piece with vibrant and modern color combinations.
Materials Needed:
- Wooden Chair
- Sandpaper
- Primer
- Paintbrushes
- Painter’s Tape
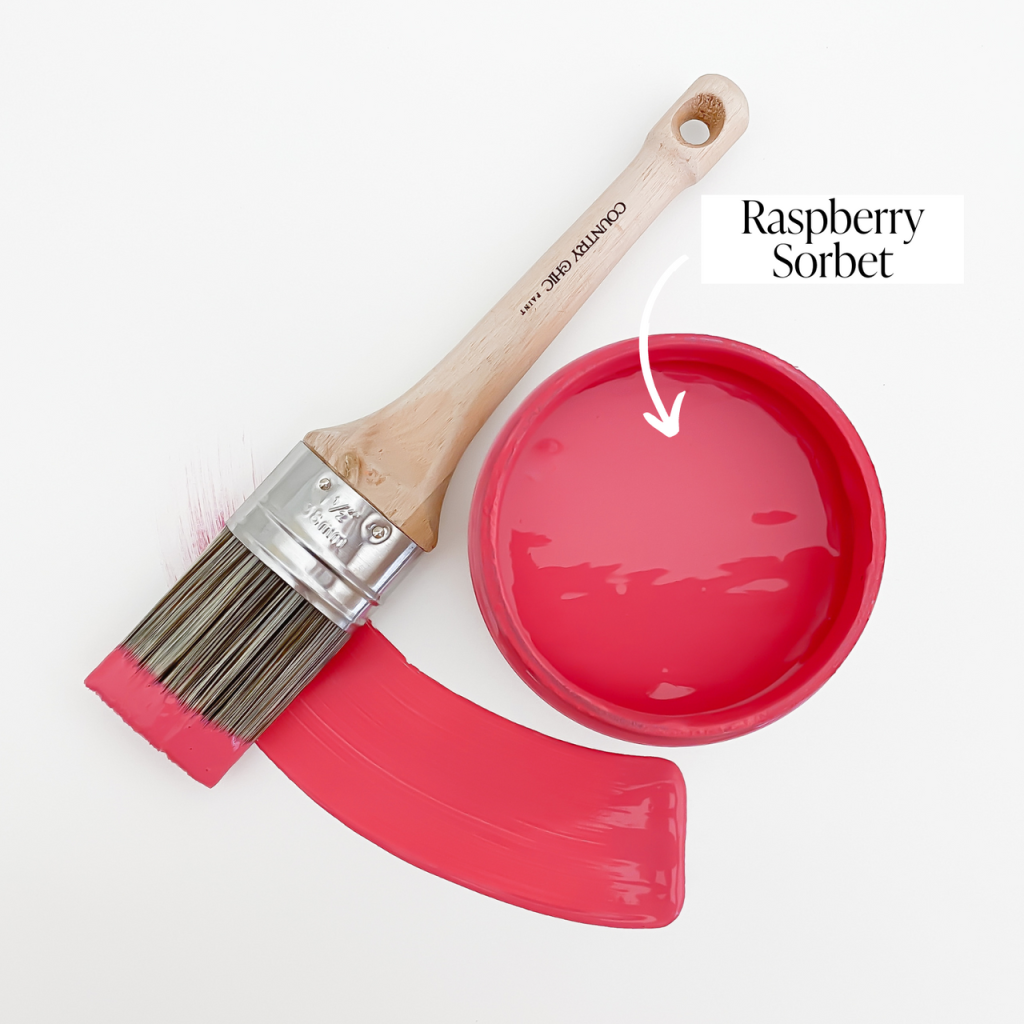
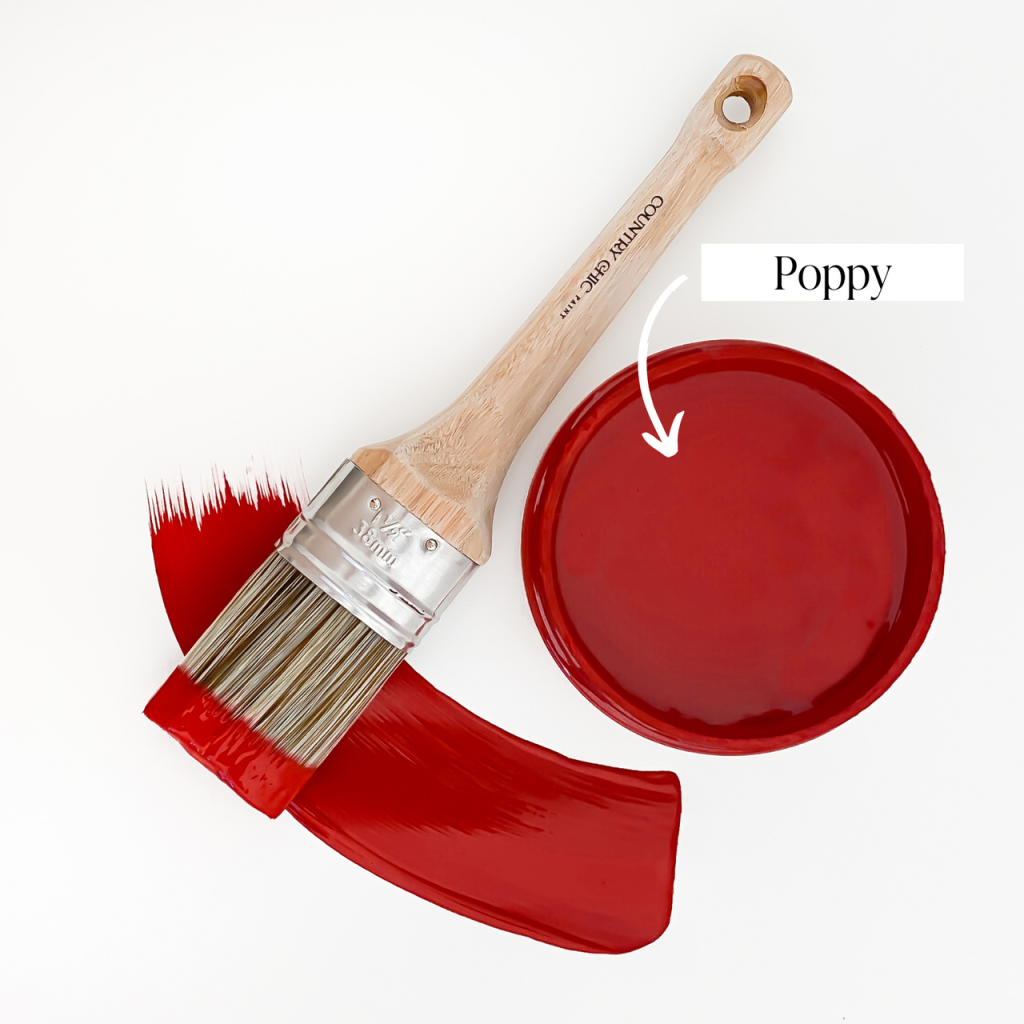
- 2 Country Chic Paint Colors
- Drop Cloth
Step 1:
Begin by ensuring that the wooden chair surface is clean and smooth. Use medium-grit sandpaper to lightly sand the chair, removing any rough patches or imperfections. Wipe away the sanding dust with a tack cloth or a damp cloth, ensuring a clean surface for the paint to adhere to.
Step 2:
Visualize and plan the color blocking design for your chair. Consider the areas you want to paint in different colors and how they will complement each other. Use painter’s tape to mark off the boundaries of each color block.
Step 3:
Using a paintbrush, apply an even layer of the base coat to the chair, following the wood grain. Allow the paint to dry completely before proceeding.
Step 4:
Once the base coat is dry, it’s time to paint the color blocks. Start with the first color block, carefully applying the paint within the boundaries marked by the painter’s tape. Use a clean paintbrush for each color, ensuring no mixing of colors occurs. Apply multiple coats as needed, allowing each layer to dry before adding the next one. Repeat this process for each color block, ensuring clean lines and even coverage. Remove the painter’s tape while the paint is still slightly wet to achieve crisp edges.
Step 5:
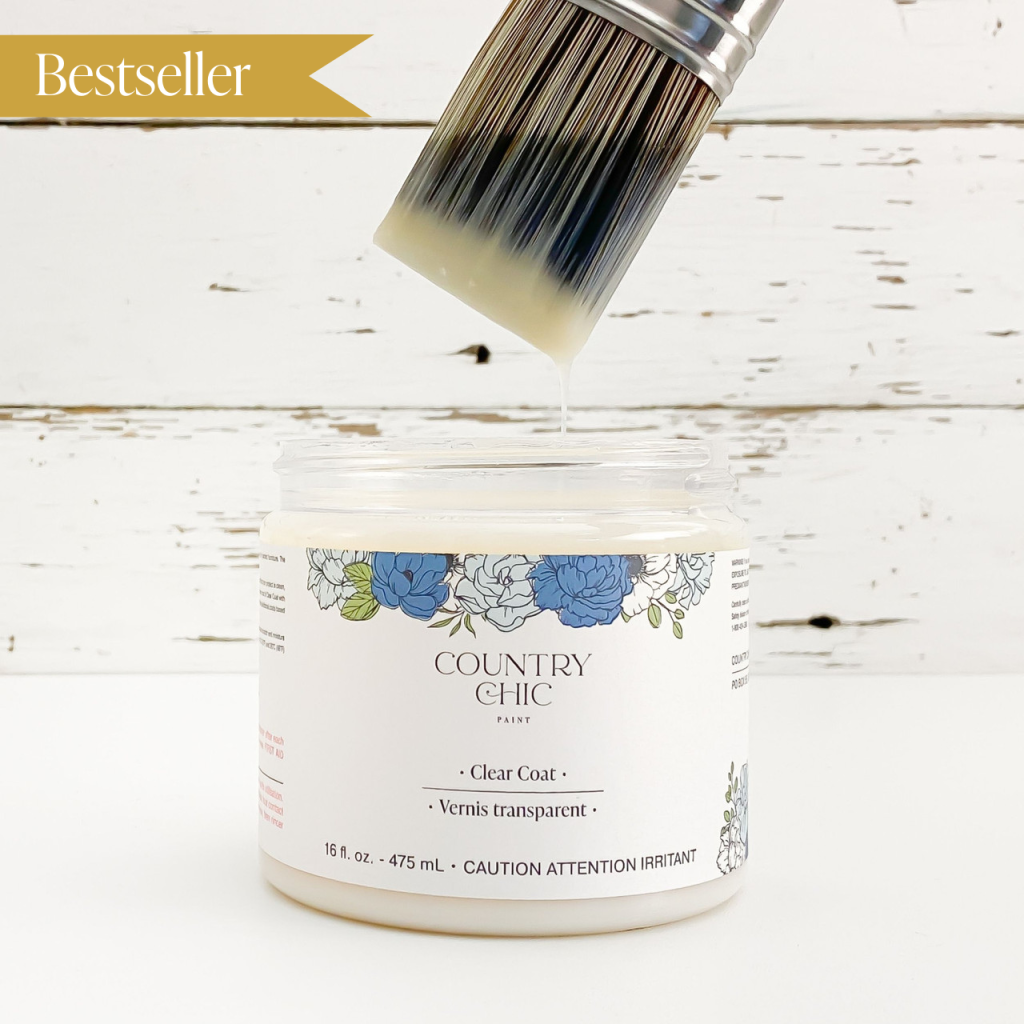
Once all the color blocks are painted and dry, you can choose to apply a clear protective finish to seal and protect the paint. After applying the protective finish, allow the chair to dry thoroughly before using or displaying it in your home.


