Dollhouse Decor: A Step by Step Guide to Painting your Miniature Home
Materials Needed:
- Wooden dollhouse
- Country Chic Paint (choose any colors you like)
- Paint brushes (Artist Brushes would work best)
- Painter’s tape
Step 1: Preparation
Clean the Dollhouse: Wipe down the dollhouse with a damp cloth to remove any dust or dirt. Let it dry completely before proceeding.
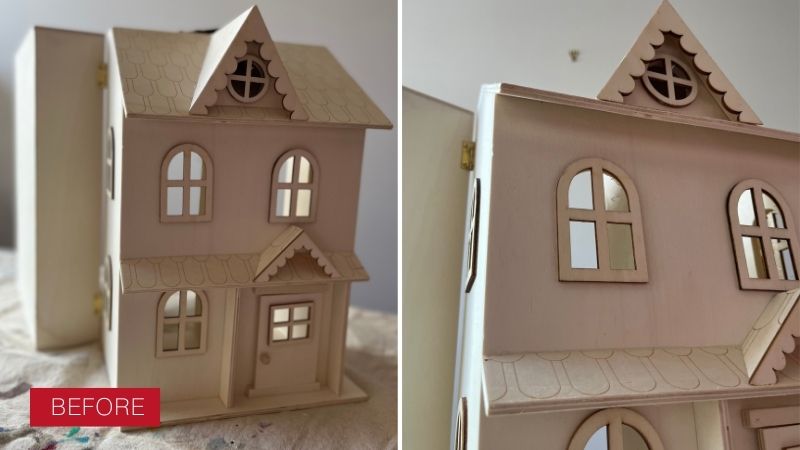
Inspect and Sand: If you haven’t bought your dollhouse new and are upcycling an older one, carefully inspect the dollhouse for any rough spots or imperfections. Use fine-grit sandpaper to smooth out these areas, especially around small details like windows, doors, and trim. Sanding ensures a smooth surface for painting.
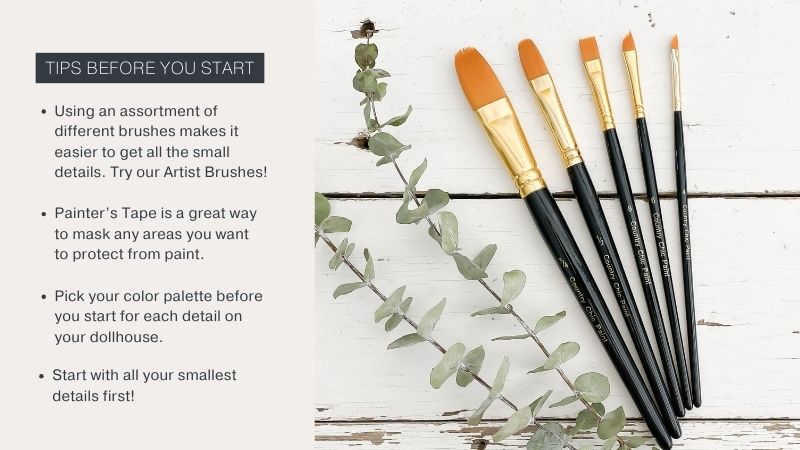
Protect Small Details: Use painter’s tape to mask off any areas you want to protect from paint, such as window panes or decorative trim. This step is crucial for achieving clean lines and preserving intricate details.
Step 2: Priming (if necessary)
Depending on the condition of the wood and the type of paint you’re using, you may need to apply a primer before painting. However, Country Chic Paint has a built-in primer and excellent adhesion properties, so it sticks well to most surfaces.
Step 3: Painting
Choosing Colors: Select your Country Chic Paint colors for the dollhouse. Consider contrasting colors for walls, trim, and accents to highlight features.
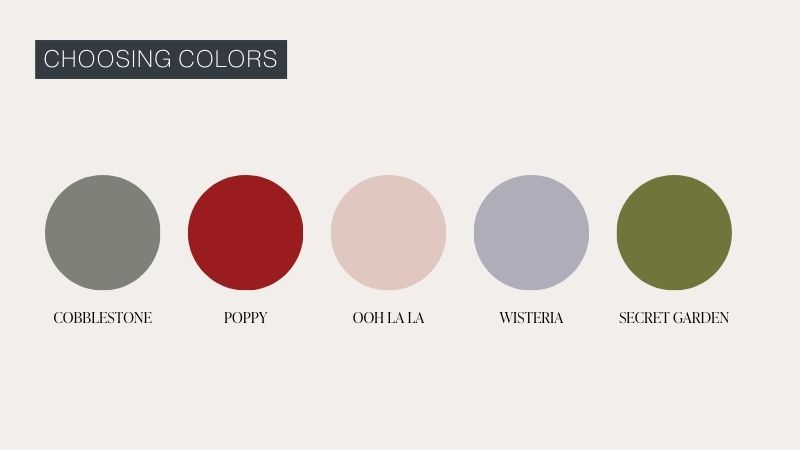
Shop our dollhouse color palette
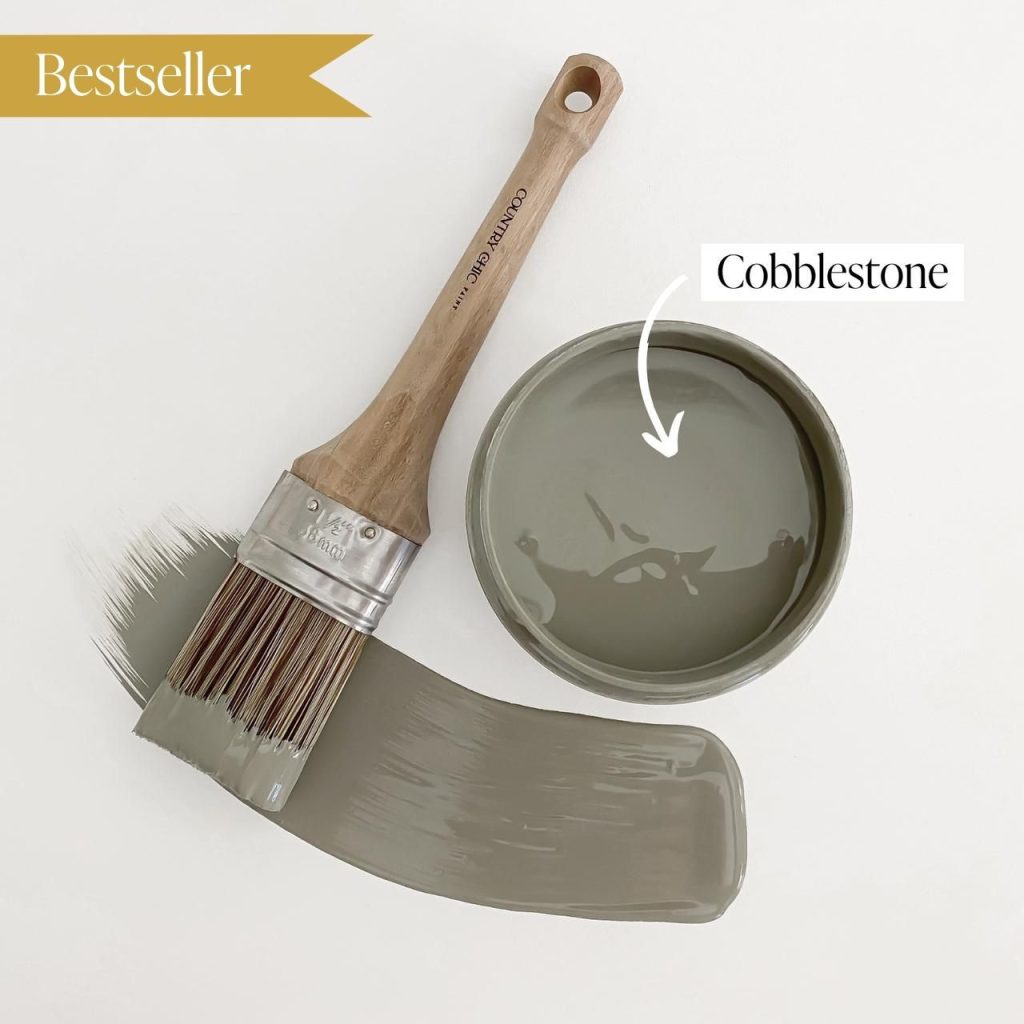
Cobblestone
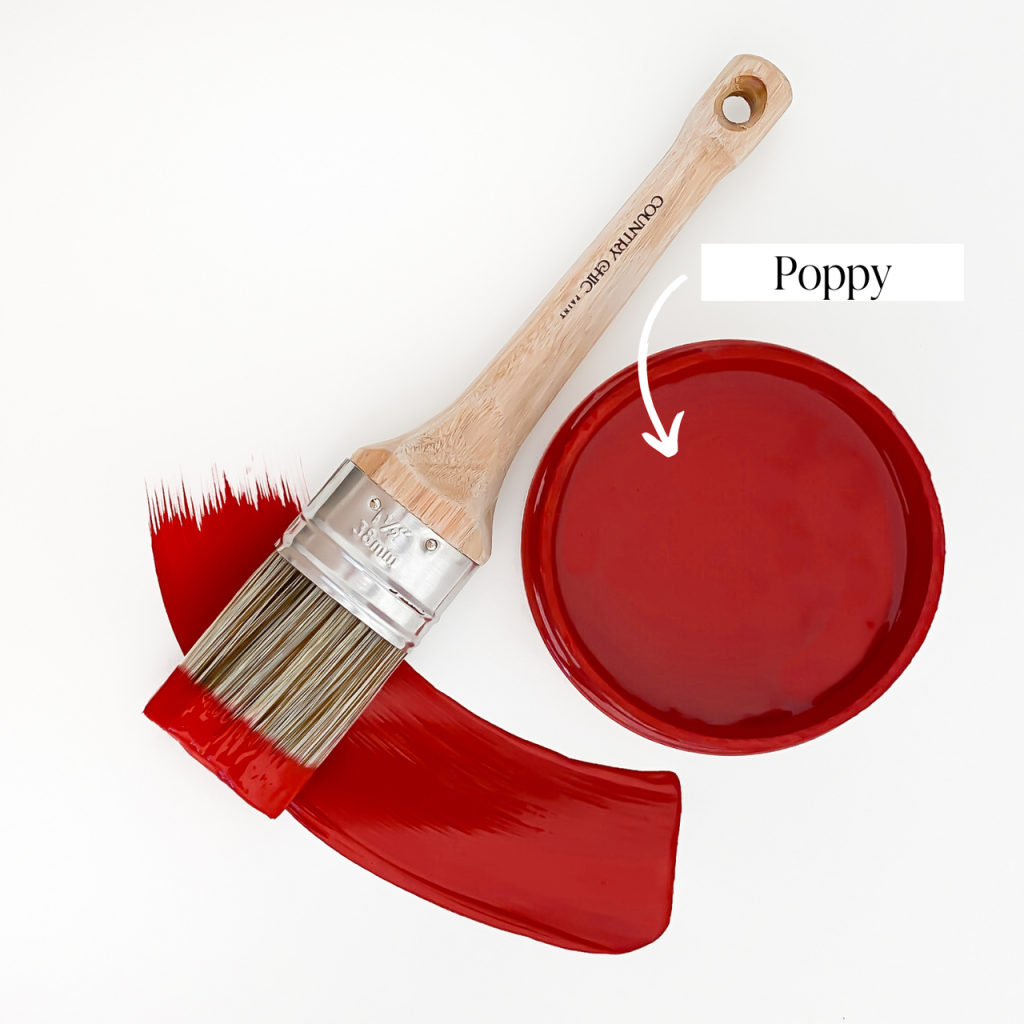
Poppy
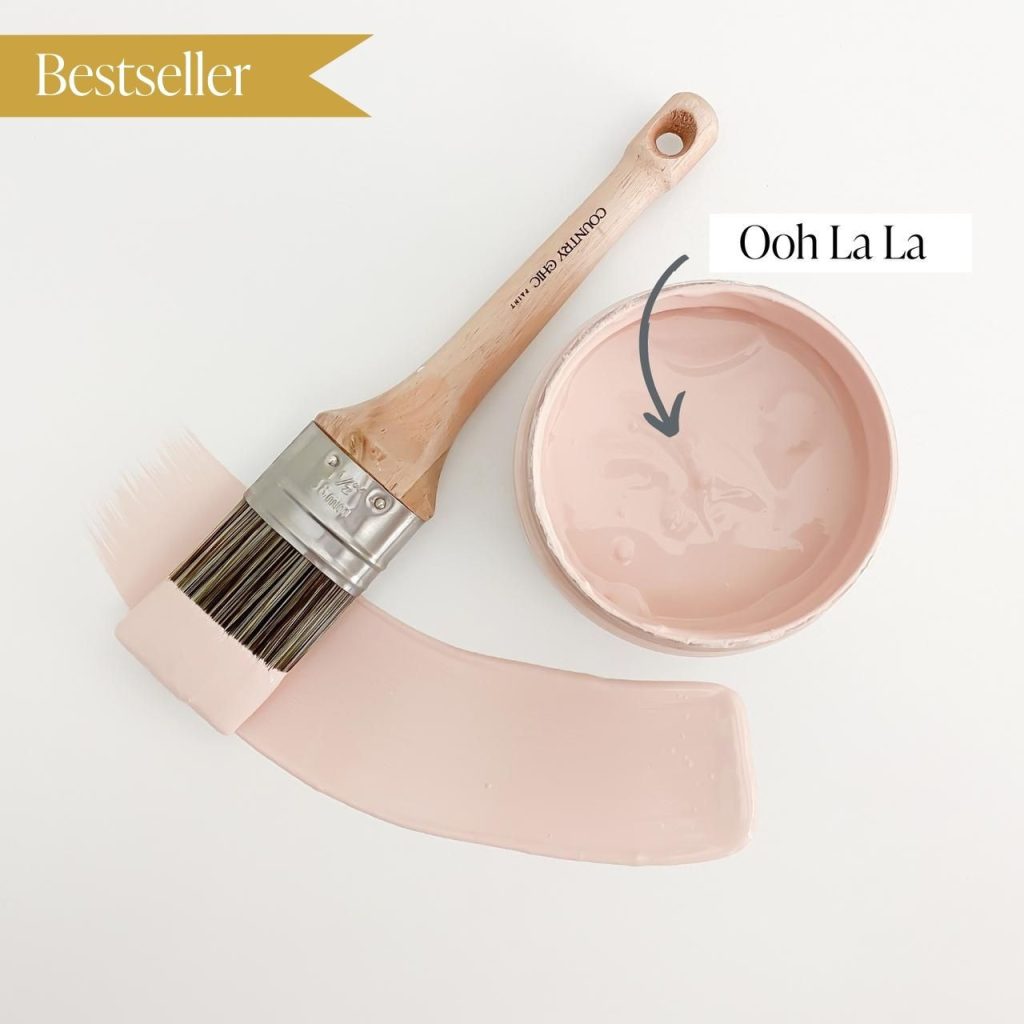
Ooh La La
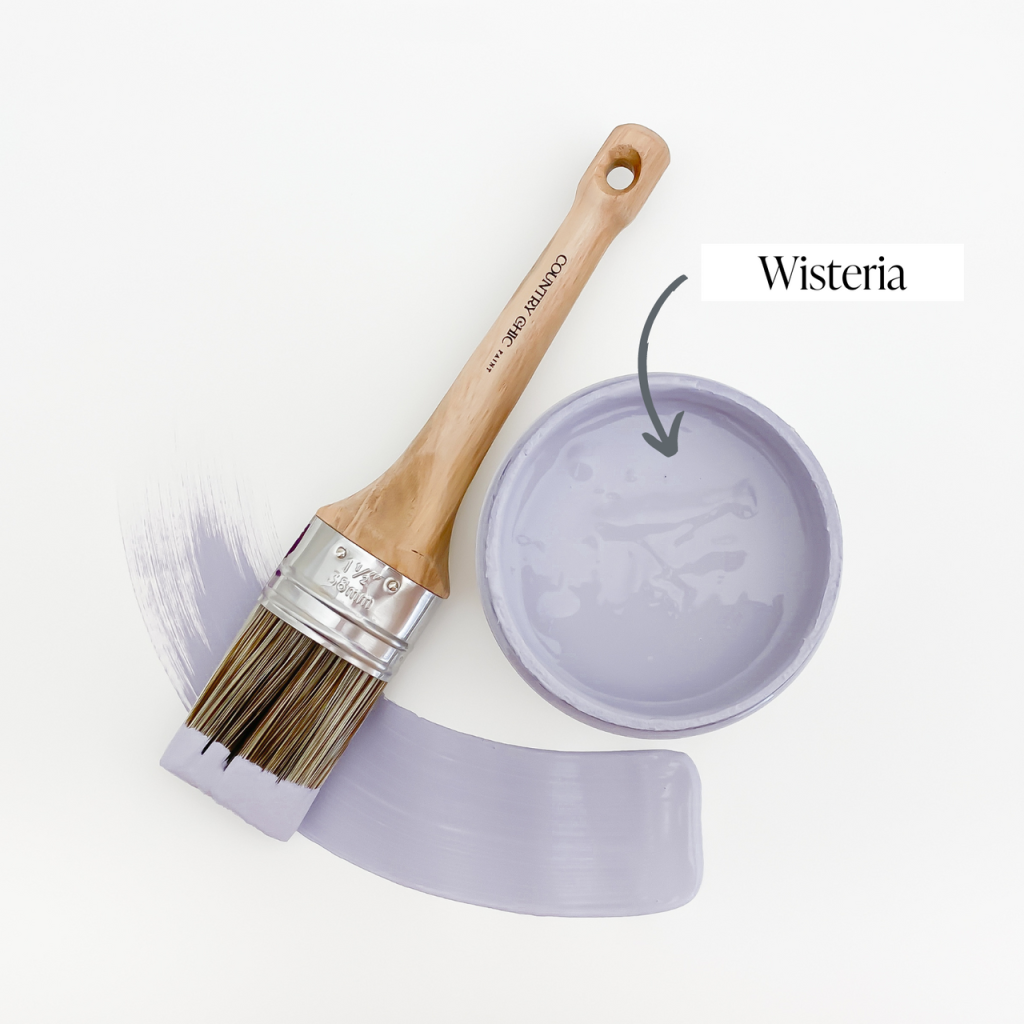
Wisteria
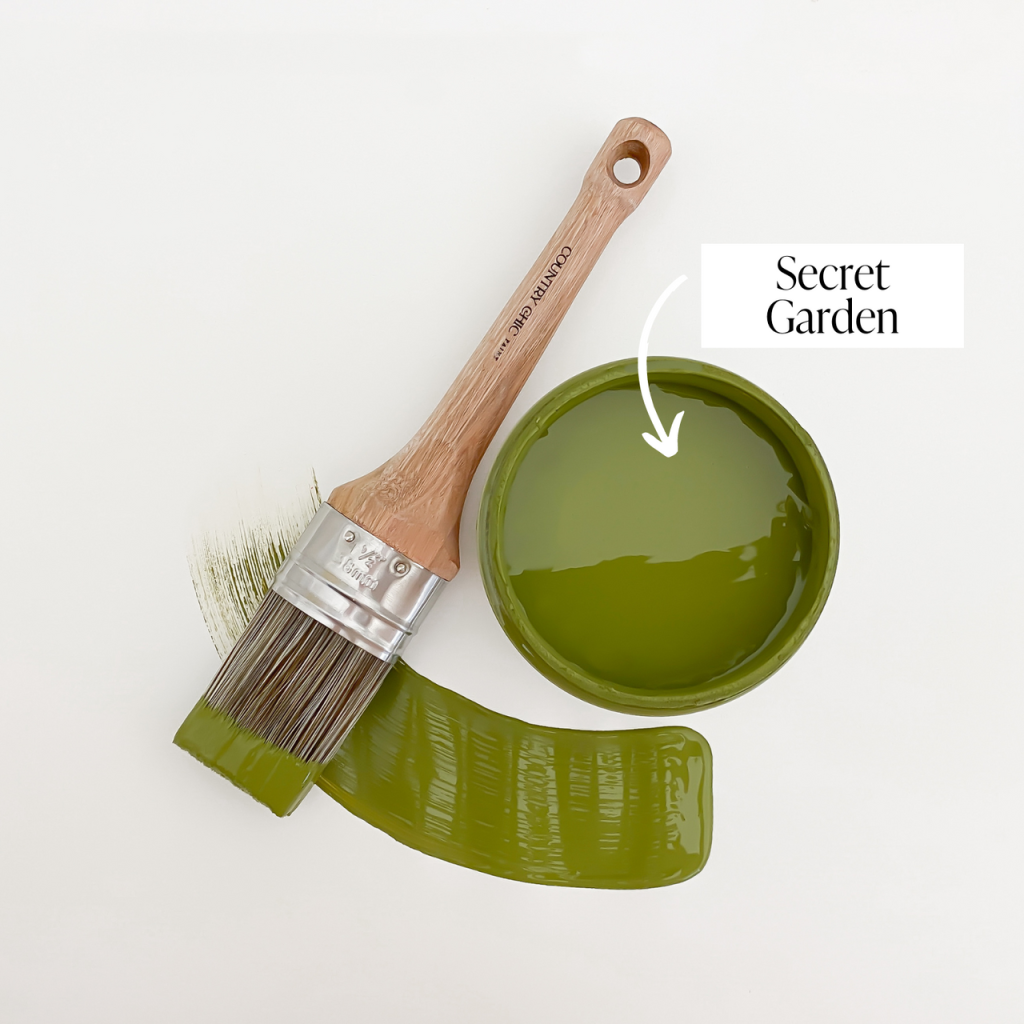
Secret Garden
Dollhouse Painting Technique:
- Start with Small Details: Use a small, fine brush to paint detailed areas first, such as window frames, doors, and decorative trim. Work slowly and carefully to avoid mistakes.
- Paint Larger Areas: Once the details are painted and dry, use a medium-sized brush or miniature paint roller for larger surfaces like walls and floors. Apply paint evenly in smooth, overlapping strokes to ensure consistent coverage.
- Layering and Touch-ups: You may need to apply multiple coats. Allow each coat to dry completely before applying the next one. Use a small brush for touch-ups on intricate details as needed.
- Distressing: Want to make the walls or roof look like they have gotten some wear? Distress the paint! You can see a tutorial on how easy it is here.
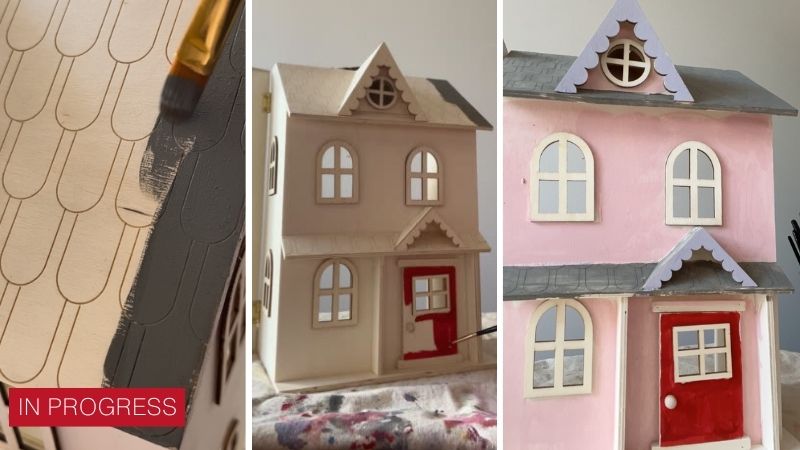
Distressing: Want to make the walls or roof look like they have gotten some wear? Distress the paint! You can see a tutorial on how easy it is here.
Remove Painter’s Tape: After the paint has dried completely, carefully remove the painter’s tape to reveal clean lines around protected areas.
Step 4: Display and Enjoy
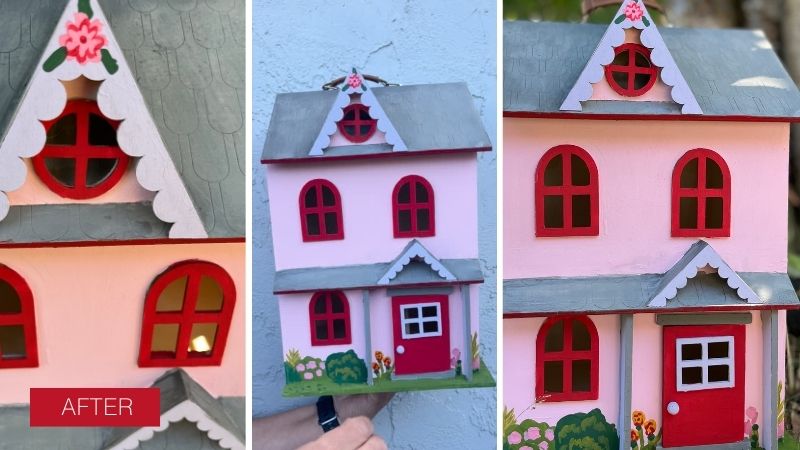
Once the paint is fully cured and dried (typically within a few days), your dollhouse is ready to display or play with! Country Chic Paint includes built-in topcoat and protection properties, so no additional Clear Coat is needed keeping your project kid-friendly. Arrange miniature furniture and accessories to complete the look and bring your miniature world to life.
Additional Tips:
- Protect your work surface from spills and drips.
- Take breaks to allow layers of paint to dry thoroughly between coats.
- Experiment with different paint techniques such as distressing or antiquing for added character.
By following these steps and taking your time with each detail, you can achieve a beautifully painted wooden dollhouse that not only showcases your creativity but also benefits from the quality and safety of Country Chic Paint, making it suitable for children’s toys. Enjoy the process of transforming your miniature world into a personalized masterpiece!


