4 Steps to Take Thrifted Furniture from Ordinary to Extraordinary: How to Upcycle Furniture from Start to Finish
In a world that values sustainability and creativity, upcycling furniture has become a popular trend. It’s a fantastic way to breathe new life into old pieces, reducing waste and adding a personal touch to your home decor. Country Chic Paint is a company that strives to stand out in the sustainable practice of furniture upcycling. We offer eco-friendly and high-quality products that make the process not only enjoyable, but also rewarding. In this guide, we’ll explore the full journey of upcycling furniture in four main steps:
- Choosing Secondhand Furniture to Flip
- Repairs & Surface Prep
- Painting & Adding Special Effects
- Styling Your Furniture
Let’s start DIYing!
Before You Buy

Choose a piece of furniture that sparks your creativity. Whether it’s a thrift store find, a hand-me-down, or something you’ve had in your home for years, consider its potential. Look for solid wood pieces whenever possible with interesting details or unique shapes. The goal is to find a piece that has good bones and is worthy of a second life.
While thrifting and reviving an old piece of furniture can be a rewarding journey, it’s essential to consider various factors including the safety of the piece. In this comprehensive guide we’ll delve into key considerations when selecting, testing for lead, and refinishing vintage furniture.
Assessing Structural Integrity
Look for furniture that is structurally sound and has good bones. While scratches, dents, or worn finishes can be addressed during the upcycling process, ensure that the piece is not damaged beyond repair. Solid wood furniture is often the best choice, as it can be sanded and painted with ease. Think about the practicality of the piece. Will it fit well in your space? Does it serve a functional purpose? Upcycling a piece that meets your size and functionality needs ensures that the final product will be both aesthetically pleasing and useful in your home. Remember, the key is to choose a piece that inspires you and aligns with your vision.
Before you purchase second hand furniture, thoroughly examine the piece for structural soundness. Check for loose joints, wobbly legs, or any other issues that may require repairs. Ensuring the piece is sturdy will contribute to its longevity and overall functionality. Some damage can be easily fixed at home, but carefully consider how much work you’re willing to take on. But nothing feels better than fixing an old piece up with your own two hands!
Understanding Wood Types

Identify the type of wood used in the furniture. Different woods respond differently to paints, stains, and finishes. Some woods, like oak or pine, readily absorb paint, while others, like mahogany may require additional preparation such as primer to avoid bleed-through. Research the characteristics of the wood to make informed decisions on the refinishing process.
While laminate furniture certainly can be painted, it tends not to be as high quality as real wood furniture. If your goal is to find real wood furniture, here are some tips.
How to tell the difference between real wood, veneer, and faux wood (laminate, melamine, etc.) furniture:
- Start by feeling the surface. Can you feel the subtle wood grain? If so, you could be looking at a solid wood piece of furniture.
- Look carefully for repeating patterns in the grain. If you see any repetition then it’s definitely faux wood.
- If any edges or corners are peeling up, that’s also a sure sign of laminate furniture.
- If you can see edge banding around the top edge of your dresser or table, that’s a sign that it’s not real wood.
- Open a drawer and look at the edges of the wood. Can you see a thin sheet attached to the front? Does the front look like real wood but the back looks like fiberboard or particleboard? If so, you’ve likely got a wood veneer. This is extremely common with furniture so that you can enjoy the look and feel of real wood, but at a lower cost.
Testing for Lead

If the piece you’ve chosen to paint is old and was previously painted, keep in mind that it may have been painted with lead-based paint. If you’re unsure it’s crucial to test for lead content before starting any refinishing work. Lead exposure poses serious health risks, especially when sanding or stripping old paint. Lead testing kits are widely available and provide a simple and effective way to check for the presence of lead-based paint. If the test is positive, take appropriate precautions or seek professional assistance. For additional information, Canadian customers can contact the Product Safety division of Health Canada at 1-800-O-CANADA. US customers contact the US EPA/Lead Information Hotline at 1-800-424-LEAD.
Hardware and Detailing

Pay attention to any hardware or intricate detailing on the furniture. Decide whether to restore the original hardware or replace it with new pieces that complement your design aesthetic. Embrace or enhance any decorative elements that contribute to the piece’s character.
If knobs or pulls are missing or just not to your taste, keep the additional cost of hardware in mind when thrifting secondhand furniture.
Repairs & Surface Prep

When refinishing old, vintage furniture, surface prep is a crucial step that sets the foundation for a flawless finish. In this guide, we will delve into the essential considerations when preparing the surface of your vintage furniture, ensuring that every stroke of paint enhances the beauty of the piece. Even though our paint doesn’t require a lot of prep work in most cases, it’s still important to take a few simple steps such as a good cleaning to ensure your work will last for years.
Watch this video to see our surface prep tips in action.
Inspecting and Cleaning

Begin by closely inspecting the furniture’s surface. Identify any damage, imperfections, or existing finishes. Clean the surface thoroughly, removing dust, grime, and any residue. A gentle cleaning solution and a soft cloth can help reveal the true condition of the wood.
Even if a piece looks nice and clean, give it a quick wipe down anyways! You’d be surprised what might be hiding there.
Stripping Old Finishes
If the furniture has existing paint or varnish, stripping is sometimes necessary, particularly if there are multiple layers of paint creating uneven texture.

Choose an appropriate stripping agent based on the type of finish. Use a paint scraper, steel wool, or a chemical stripper to remove the old layers, ensuring a clean and bare surface for refinishing. Be sure to test for lead paint if you’re not sure!

Sanding for Smoothness

If your furniture has old paint layers or damaged areas, sanding is a critical step in achieving a smooth and even surface. Start with a coarse-grit sandpaper to remove any remaining finish or imperfections. Gradually progress to finer grits to achieve a polished finish. Pay special attention to edges, corners, and intricate details.
Filling Gaps and Repairs

© Phoenix Restoration
Inspect the furniture for any cracks, dents, or gaps. Fill these imperfections with wood filler or epoxy, ensuring a seamless and level surface. Sand the filled areas once they have dried to blend them seamlessly with the rest of the piece.
Click here for even more detailed instructions on surface prep including our SUPER HANDY FLOW CHART to help you decide exactly which prep steps are required for your specific piece of furniture.
Painting & Adding Special Effects

© Scribbles & Stitch
Understanding the Purpose of Your Furniture
Before diving into color palettes, consider the purpose of the space or the furniture piece. Is it a relaxing retreat, a vibrant living area, or a functional workspace? Not sure? Take our Color Quiz!
Choosing the Right Colors & the Painting Process
Selecting the right paint color for a project is a pivotal step that can transform any space or piece of furniture. In this comprehensive guide, we’ll explore the art of choosing paint colors and delve into essential considerations to ensure a flawless finish that reflects your personal style and vision.
If you’re having trouble choosing a color, try out our Paint Color Visualizer to see some of your top picks in action!
Consider Your Lighting
The lighting in a space plays a significant role in how colors are perceived. Consider the natural light the area receives throughout the day. Some colors may appear different under various lighting conditions, so test samples to see how they react to different light sources.
Our Color Cards are a great way to see our paint colors in person before you invest!
Get Your Color Card Here!

Paint Color Card – Swatches of All 50 Furniture Paint Colors – Country Chic Paint
Exploring Color Psychology

Colors evoke specific emotions and moods. For example, blues and greens promote calmness, while yellows and oranges bring warmth and energy. Explore color psychology to choose hues that align with the ambiance you want to create in your space. Want a little help? Click here to see our full color theory article.
Harmonizing with Existing Elements
Take stock of existing elements in the space such as furniture, flooring, and decor. Choose colors that harmonize with these other elements to create a cohesive and well-balanced look. Consider undertones and complementary shades.
Sampling Before Committing
It’s a good idea to test paint colors before committing to a full application. Paint small sections or use sample boards to see how the colors interact with the lighting and existing elements. This step not only ensures that the chosen color meets your visual expectations, but it’s also a good way to test that you’re getting good adhesion without any bleed-through issues!
Click here to order any of our colors in 4 oz sample sizes

Simplicity
Painting Your Furniture
So, you’ve chosen the perfect piece of furniture to refinish, you’ve cleaned and prepped your surface, you’ve selected the perfect paint color, and now it’s time to dive into the fun part!

For great adhesion and a super smooth look, apply thin, even paint coats using a high-quality brush or painting sponge.

For an in-depth guide on the best way to paint furniture, click here. We’ll teach you all about the tools to use, the best application techniques for a flawlessly smooth finish, how much paint you’ll need, and more!
Fine-Tuning Details
Before placing your newly painted furniture in your home, ensure that your painted piece is flawless by fine-tuning the details. Inspect for any uneven surfaces, drips, or imperfections. Touch up areas that need attention to guarantee a polished final appearance.
Adding a Glaze for Extra Depth

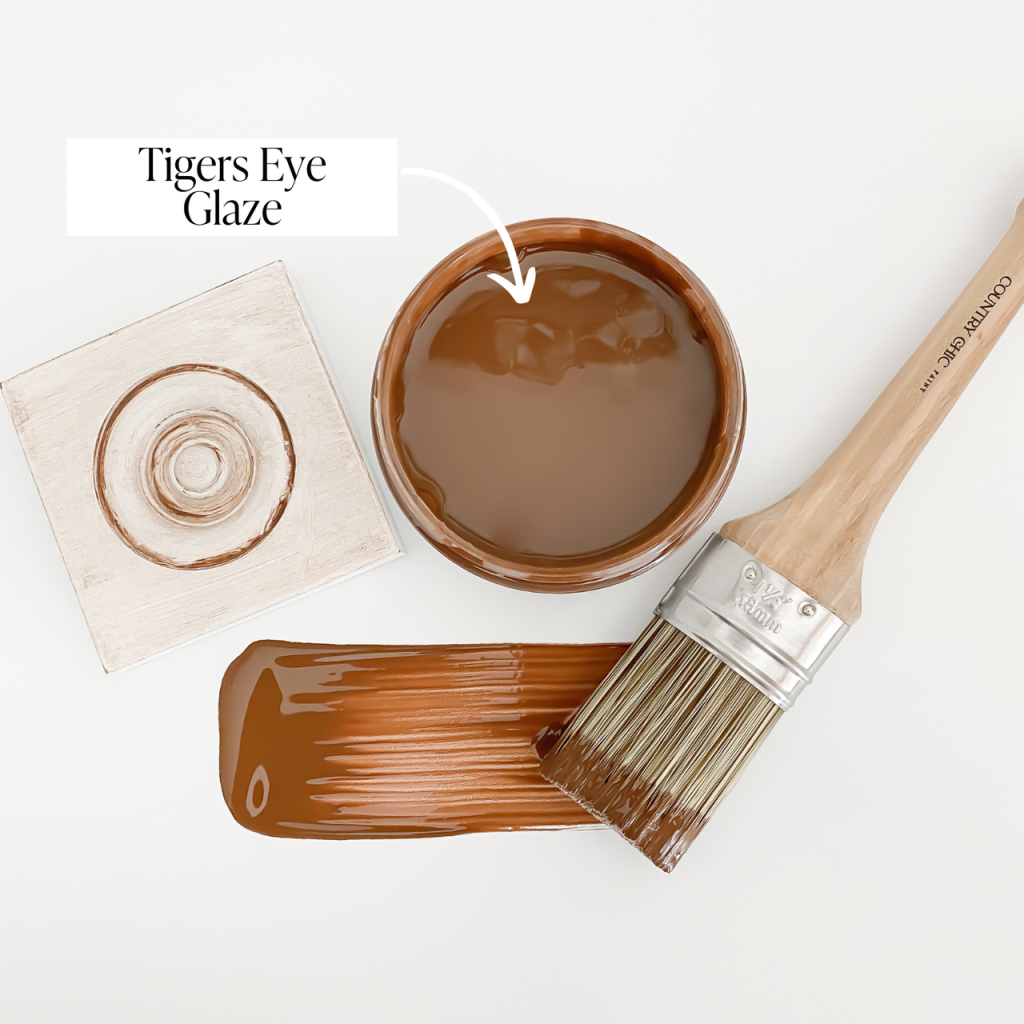
Want to add more texture to your paint color, or perhaps make grooves and detail areas really pop? Consider adding one of our five colors of Furniture Glaze (also available in a clear, tintable formula)! Apply the glaze using a paint brush, covering a small section at a time. Work the glaze into the crevices and details of the piece. After applying the glaze to a section, use a damp, lint-free cloth or rag to gently wipe off the excess glaze. This will leave the glaze in the crevices and give your piece a beautifully aged or distressed look.
For more instructions on applying glaze to painted furniture click here for our full tutorial (including a video!).

Furniture Glaze | Smoky Quartz – Antique Patina Special Effects Glaze for Chalk Style Furniture Paint, Eco-Friendly Wood Stain

Furniture Glaze | Tiger’s Eye – Antique Patina Special Effects Glaze for Chalk Style Furniture Paint, Eco-Friendly Wood Stain

Furniture Glaze | Graphite – Antique Patina Special Effects Glaze for Chalk Style Furniture Paint, Eco-Friendly Wood Stain

Furniture Glaze | Limestone – Antique Patina Special Effects Glaze for Chalk Style Furniture Paint, Eco-Friendly Wood Stain

Furniture Glaze | Slate – Antique Patina Special Effects Glaze for Chalk Style Furniture Paint, Eco-Friendly Wood Stain

Furniture Glaze | Clear – Antique Patina Special Effects Glaze for Chalk Style Furniture Paint, Eco-Friendly Wood Stain
Choosing the Right Hardware

The hardware you choose can significantly impact the overall aesthetic. Consider the style of your piece and select hardware that complements it. Whether it’s knobs, handles, or pulls, opt for finishes that enhance the character you want to convey.
Distressing for Character

Depending on the style you’re aiming for, distressing can add character and charm to your piece. Sand edges, corners, and raised details to mimic natural wear. Be strategic in your distressing to maintain a balanced and intentional appearance. Want to learn a few tried and true distressing techniques? Check out our tutorial on the top 3 ways to distress furniture.
Choosing a Protective Topcoat
Country Chic Paint is durable on its own, but in some cases you may choose to add some extra protection. The type of finish you choose will depend on the piece’s purpose and the desired look.
Here’s an example of the various sheen levels each of our sealants creates over our flat matte paint. As you can see, they range from almost completely matte, to a satin sheen.

- Choose Furniture Wax or Hemp Oil for things like coffee tables and end tables that will see light-medium use.
- Clear Coat is the best choice for anything that needs to stand up to a lot of wear and tear such as dining table tops and kitchen cabinets.
Shop Our Selection of Furniture Sealants

Hemp Oil – 100% Natural Furniture Sealant, Protect Chalk Furniture Paint or Raw Wood, Dries Clear, Wood Finishing Oil

Clear/Natural Wax – Natural Sealant for Chalk Furniture Paint or Raw Wood

Antiquing Wax – Natural Sealant for Chalk Furniture Paint or Raw Wood

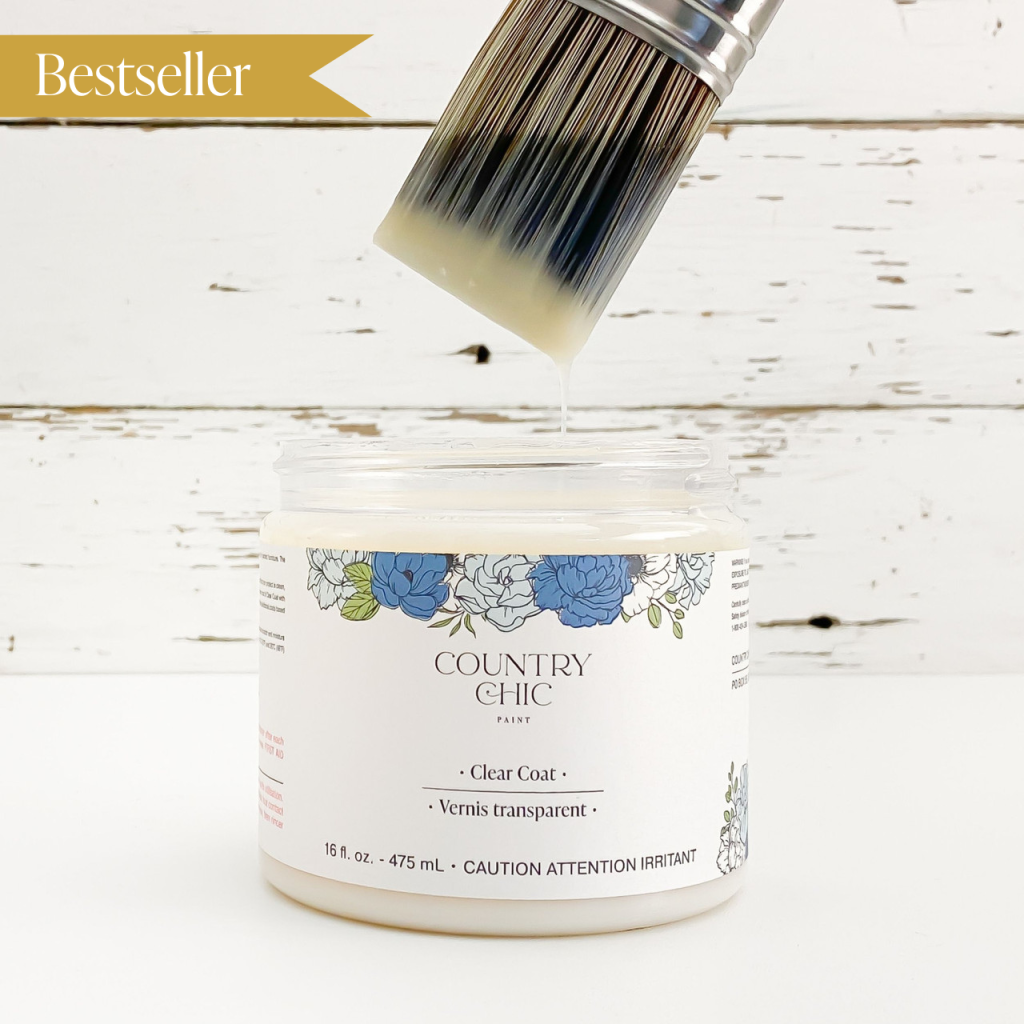
Clear Coat – Eco-Friendly Clear Satin Sheen Top Coat for Chalk Style Furniture Paint, Very Durable, Non Yellowing, Waterproof Sealant
Styling Your Furniture
So you’ve found your perfect piece of furniture and refinished it with a beautiful, fresh coat of paint. Now what? It’s time to put it in its new home and style it with some decor items to make it feel as though it truly belongs!
Understanding the Design Style
Before diving into styling, consider the design style of your new furniture piece. Whether it’s modern, rustic, eclectic, or traditional, understanding its inherent style will guide your choices for complementary decor and accessories.
Establishing a Focal Point

Identify the focal point of the room and arrange your new furniture piece to enhance it. This could be a fireplace, a feature wall, or a stunning view. Positioning your furniture in harmony with the room’s natural focal point creates a cohesive atmosphere.
Balancing Proportions
Achieve visual balance by considering the proportions of your furniture piece in relation to the room. Avoid overcrowding or isolating the piece; instead, aim for a balanced distribution of furniture and decor that allows each element to shine.
Color Coordination

Coordinate the colors of your furniture piece with the existing color palette of the room. Harmonious color schemes create a cohesive and inviting atmosphere. Consider complementary or analogous color combinations for a visually pleasing effect.
For a full tutorial with color combo examples and palette inspiration, click here to see our Color Theory article.
Layering Textures

Introduce texture to add depth and interest to your styling. Consider the tactile qualities of materials like wood, fabric, metal, and glass. Layering textures provides a multi-dimensional look that elevates the overall design.
Functionality and Flow
Ensure that the arrangement is not only aesthetically pleasing, but also functional. Consider the flow of the room and how people will navigate the space. Arrange furniture in a way that encourages natural movement and easy access.
Creating Visual Interest

Add visual interest by varying the heights and shapes of accessories. Consider using statement pieces like artwork, mirrors, or unique lighting fixtures to draw the eye and create focal points within the room.
Embracing Negative Space
Allow for negative space around your new furniture piece. This intentional emptiness provides visual breathing room, preventing the space from feeling cluttered and allowing each element to be appreciated individually.

Upcycling furniture with Country Chic Paint offers a fulfilling and sustainable way to revitalize your living space. By carefully selecting the right piece, preparing the surface with thorough cleaning and thoughtful repairs, and applying Country Chic Paint’s versatile and vibrant colors, you can transform an overlooked item into a stunning and personalized centerpiece. The 4-step guide outlined above provides a comprehensive roadmap for upcyclers, emphasizing the importance of creativity, patience, and attention to detail. As you embark on your upcycling journey, remember that the process is not just about giving new life to old furniture but also contributing to a more environmentally conscious and stylish home. With Country Chic Paint’s high-quality products and your imaginative touch, each piece becomes a testament to the art of repurposing, making your living space uniquely yours.
Featured Products

Chalk Style Painting Sponges – Set of 3 Reusable Applicator Sponges for Smooth Furniture Paint & Top Coat Application

Fresh Mustard

Oval Paint Brush – Chalk Style Synthetic Bristle Brush for Smooth Application with Water-Based Paint

Clear Coat – Eco-Friendly Clear Satin Sheen Top Coat for Chalk Style Furniture Paint, Very Durable, Non Yellowing, Waterproof Sealant

Clear Bonding Primer – Chalk Style Furniture Paint Surface Prep Clear Primer Base Coat

Paint Color Card – Swatches of All 50 Furniture Paint Colors – Country Chic Paint

Clear/Natural Wax – Natural Sealant for Chalk Furniture Paint or Raw Wood

Hemp Oil – 100% Natural Furniture Sealant, Protect Chalk Furniture Paint or Raw Wood, Dries Clear, Wood Finishing Oil


