Mother’s Day Craft Idea: Decoupaged Glass Vase Upcycle Project

The best part about this project is that it can be done easily, quickly, and inexpensively. If you don’t already have these items on-hand, check your local thrift store. They’re a gold mine for pretty glass vases, bowls, and candle holders!
Next time you’re using tissue or crepe paper for crafts or wrapping gifts, save those little scraps! You can use them to decoupage ordinary items into beautiful works of art.
Supplies Needed:

- Clean glass jar (e.g., mason jar or vase)
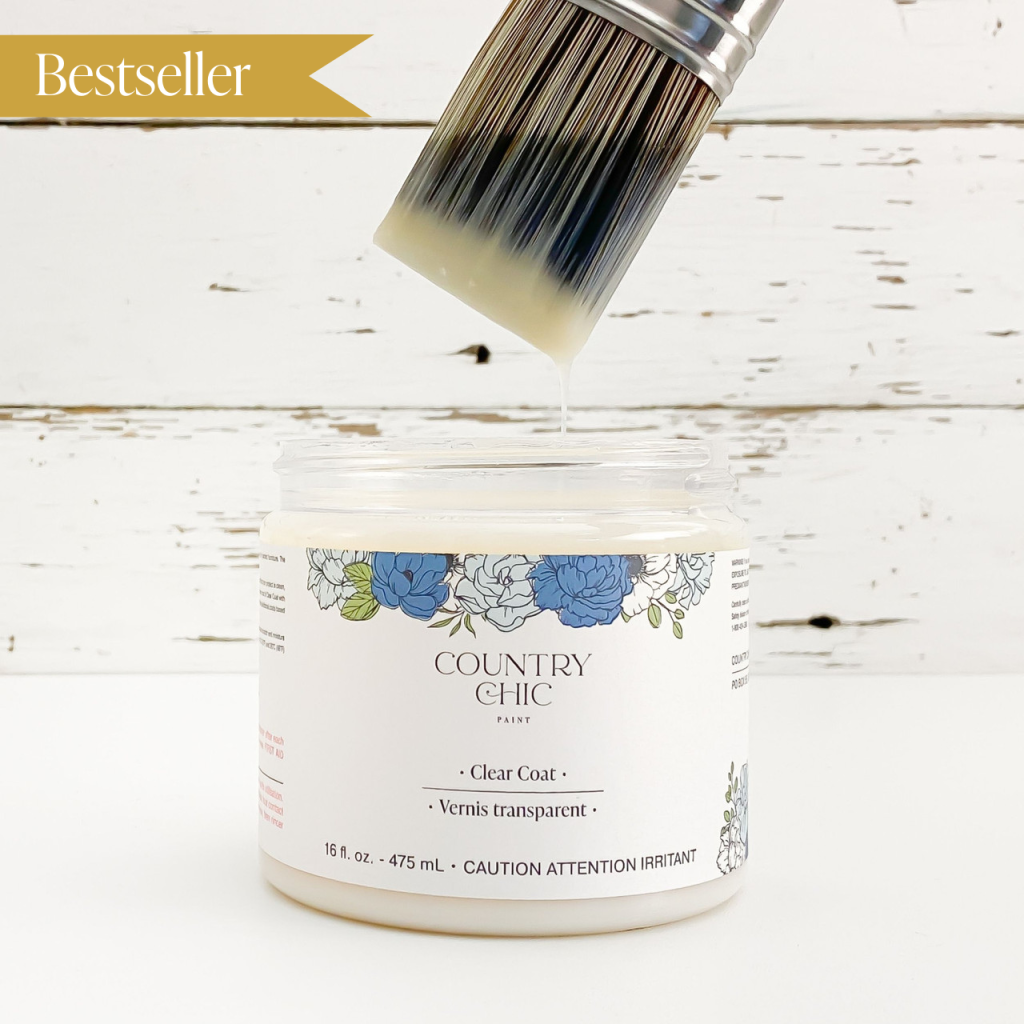
- Country Chic Paint Clear Coat
- Crepe paper, tissue paper, or real dried flowers
- Scissors
- Paintbrush or foam brush
- Battery-powered candle (optional)
- Soft cloth
- Protective covering for your work surface (e.g., newspaper, plastic sheet)
Step 1: Prepare the Glass Jar

Clean the Jar: Wash the glass jar with soap and water to remove any labels, glue residue, or dirt. Dry it thoroughly with a soft cloth.
Set Up Your Work Area: Lay down a protective covering on your work surface to avoid any mess.
Step 2: Prepare the Design

Choose Your Materials: Decide whether you want to use crepe paper, tissue paper, or real dried flowers for your design. Each material will create a unique look for your jar.
Cut Your Design: Cut the chosen material into desired shapes or patterns. You can create flowers, leaves, abstract designs, or anything else you like.
Step 3: Apply the Clear Coat

Base Layer: Using a paintbrush or foam brush, apply a thin layer of Clear Coat onto the surface of the jar where you want to place your design.
Position the Design: Carefully place your paper cutouts or dried flowers onto the wet Clear Coat. Arrange them as desired, smoothing out any wrinkles or air bubbles.
Top Layer: Once the design is in place, apply another thin layer of Clear Coat over the entire surface of the jar to seal the design. Make sure to cover all edges of the paper or flowers with Clear Coat.

Step 4: Let It Dry

Allow to Dry: Let the Clear Coat dry completely.. This may take a few hours, depending on the humidity and temperature.
Check for Imperfections: After drying, inspect the jar for any areas that may need additional sealing or smoothing. Apply another layer of Clear Coat if necessary and let it dry completely.
Step 5: Add Finishing Touches
Optional Decorations: If desired, you can add additional decorations to the jar, such as ribbons, beads, or paint, to enhance its appearance.
Trinket Container: Use the decorated jar as a beautiful trinket container to store jewelry, small keepsakes, or other treasures.
Lantern: Place a battery-powered candle inside the jar to create a stunning lantern. Enjoy the warm glow and ambiance it brings to any space.

Step 6: Present Your Creation
Wrap your decorated mason jar in tissue paper or place it in a gift bag to present it as a heartfelt Mother’s Day gift. Alternatively, enjoy the crafting process together with your mom and display the finished jar as a lovely addition to your home decor.
*Please note to not use real candles or open flames with this project to avoid potential safety risks.


