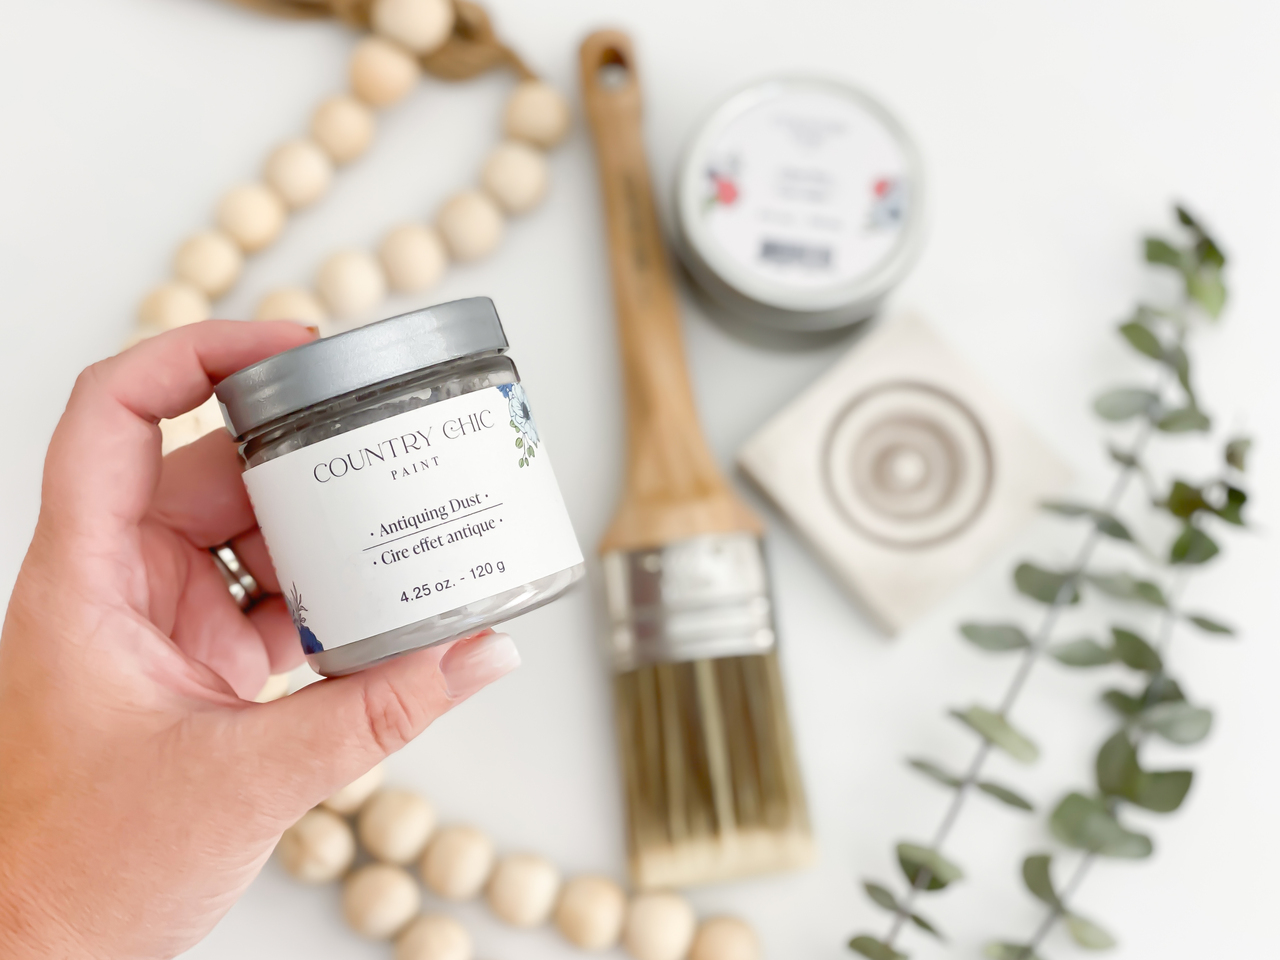
How To Use Antiquing Dust
Step 1) Paint and wax your piece

After allowing your painted projected to dry for 24 hours, apply a light coat of Clear Wax with a wax brush. Make sure that you cover the entire piece including the nooks and crannies.
Don’t buff it just yet!
Step 2) Add some dust

To apply the Antiquing Dust, simply dip a dry paint brush into the container of Dust and press it into the wax on your project. You’ll want to make sure to get it in the nooks and crannies where dust would naturally build up over time. Allow it to rest for half an hour.
Step 3) Dust and buff


Remove the excess Antiquing Dust with a dry brush and use a lint-free cloth to buff the entire piece until it feels smooth and dry to the touch. This creates a finished look that does not need to have any further wax or sealant applied to it!
Please note: if you apply any more wax after this step, you’ll end up removing some of the dust and losing the beautiful depth you just created.
Find these products at your local retailer
If you would like to try this technique for yourself, stop by our store locator and call your local retailer for availability. If you do not have a local retailer, you can also find Antiquing Dust in our online shop.
Did you enjoy our video tutorial? Make sure to Subscribe to our YouTube channel to get access to all our videos!
We would love to hear what projects you’re working on, so make sure to leave a comment or post a picture of your project to our Facebook page or Instagram (@countrychicpaint)!


