Spring DIY Tutorial – Fun for the whole family!

As winter’s frosty grip gives way to the warmth of the sun, the enchanting embrace of spring unfolds, bringing with it a symphony of vibrant colors and the promise of renewal. The world awakens in a burst of blossoms and fresh greenery, as nature’s canvas transforms into a kaleidoscope of hues. In this season of rejuvenation, the air is filled with the sweet scent of blooming flowers and the melody of birdsong. Spring invites us to bask in the radiant glow of life, where every petal, leaf, and blade of grass seems to celebrate the return of vitality.
Families, in particular, find joy in coming together to explore the world of DIY crafts during this lively season. Whether it’s creating whimsical garden decorations, painting flower pots, or fashioning colorful birdhouses, the springtime provides an ideal backdrop for shared laughter and meaningful moments.
Embark on a sustainable and artistic journey us in the eco-conscious year of 2024! This year, we’re on a mission to redefine creativity by showcasing the beauty of upcycling and breathing new life into old, forgotten materials. Join us in embracing the art of repurposing as we celebrate the importance and benefits of being eco-friendly.
Let the DIYing begin!

Egg Carton Flower Art
This fun, family friendly DIY project provides inspiration on how you can turn your ordinary recycling into beautiful and creative art! Before you begin this project you’ll need the following materials:
- Old egg cartons
- Scissors
- Acrylic paint (assorted colors)
- Paintbrushes
- Glue gun and glue sticks
- Canvas or sturdy cardboard
- Pencil
- Optional: Craft knife for more intricate details
Start by carefully cutting out the egg carton cups using scissors for a craft knife. Trim away any excess paper to create a neat, cup-like shapes. These cups will serve as the pedals for your flowers.
Once all your cups are neatly cut out you want to begin to shape them into flowers. Using your scissors, create petal shapes by making four cuts around the top edge of each cup. These cuts should extend from top edge towards the center but not all the way down. This will give the petals a more defined and flower-like appearance.

Now that you have your egg carton cups cut out and shaped into flower pedals it time to add your own personal touches by painting your flowers your favorite colors! Use an artist brush as it is nice a small and will give you the ability to control your strokes. Don’t be afraid to get your hands messy! Once you have painted the entire egg carton cup, gentle set it down on craft paper or newspaper. Make sure to wash your brush off before switching to a new color for your next flower pedal.
Some of the fun, bright color we used in our tutorial are Whoop-De-Do, Yellow Wellies, String of Pearl, Dune Grass, Simplicity, Poppy!
Paint on some fun patterns and details
For a more intricate design, cut additional smaller petals or shapes from the egg cartons. Paint them and attach them on top of the first layer of petals, creating depth and dimension. Or simply take an artist brush and paint on some cute patterns, such as leaf’s, center dots, and fun lines.
Arrange and attach petals
Using a hot glue gun, attach the painted petals around the base in a circular pattern, starting from the center. Experiment with different arrangements and colors to achieve the desired look. Press each petal firmly into place and hold until the glue sets.
Display Your Egg Carton Flower Wall Art
Allow the entire piece to dry completely before hanging it on your wall. Use a command strip or picture hook for easy and damage-free installation.

Featured Product

Chalk Style Painting Sponges – Set of 3 Reusable Applicator Sponges for Smooth Furniture Paint & Top Coat Application

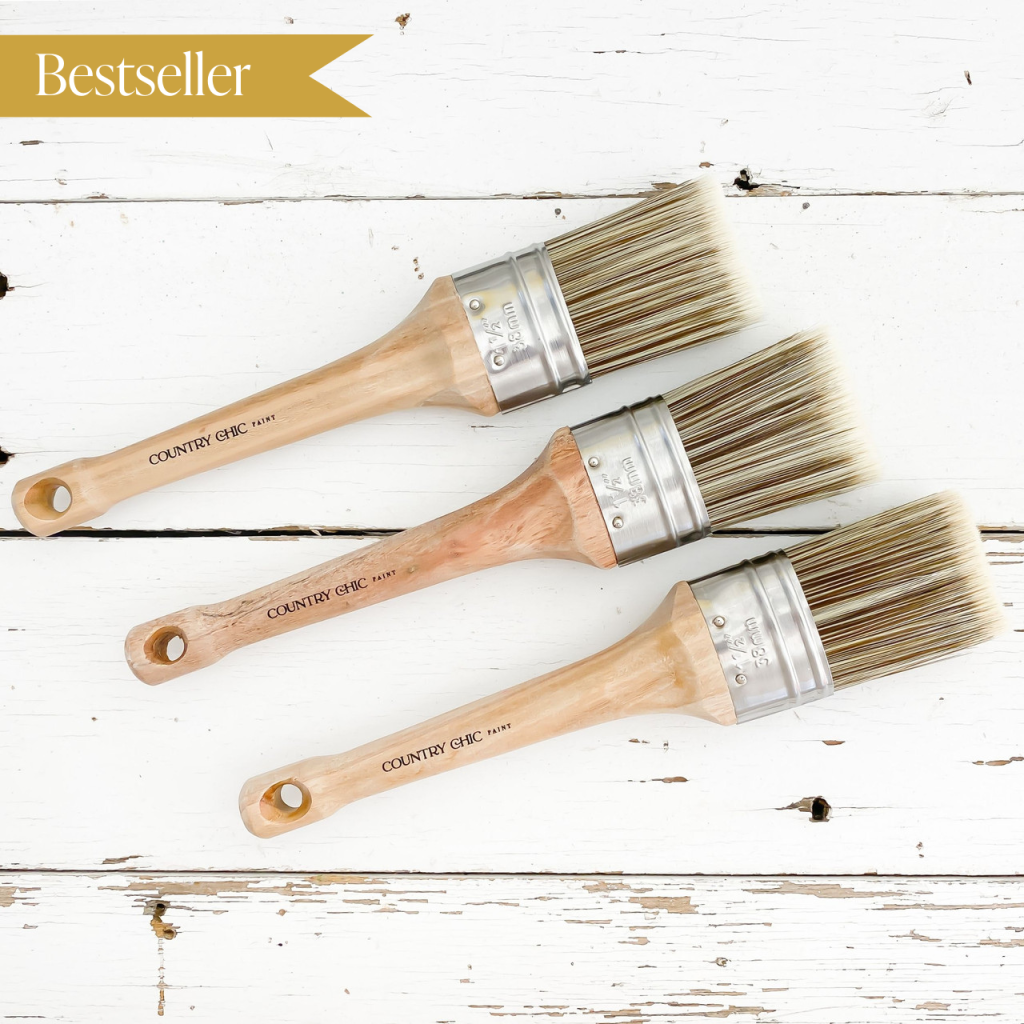
Oval Paint Brush – Chalk Style Synthetic Bristle Brush for Smooth Application with Water-Based Paint

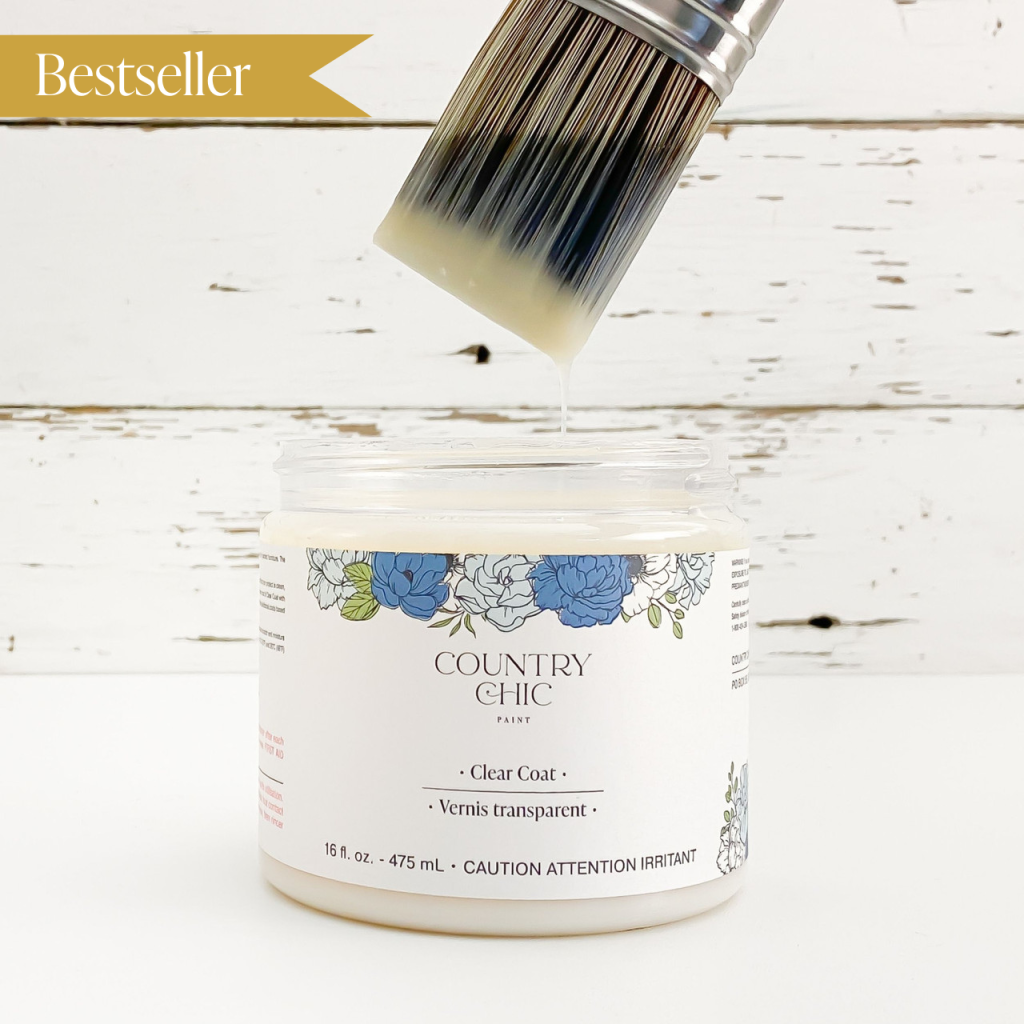
Clear Coat – Eco-Friendly Clear Satin Sheen Top Coat for Chalk Style Furniture Paint, Very Durable, Non Yellowing, Waterproof Sealant


