How To Use Glaze as a Stain for Wood Furniture
Why choose Glaze instead of Stain?
You might be wondering, “why would I choose furniture glaze instead of a traditional wood stain for my furniture makeover?” That’s a good question! Here are some reasons why Furniture Glaze is a better choice:
- Eco-friendly so you can use it indoors without worrying about your health or your family’s safety.
- Water-based making cleanup a breeze! Just rinse your brush or sponge with water after use.
- Virtually odorless, unlike smelly, toxic furniture stains.
- Ultra-low VOCS which you can confirm in our test results here.
- NO harsh chemical additives such as phthalates, formaldehyde, heavy metals, or solvents.
- Make any glaze color you can think of by mixing our clear, tintable glaze with any paint colors!
What is Furniture Glaze?
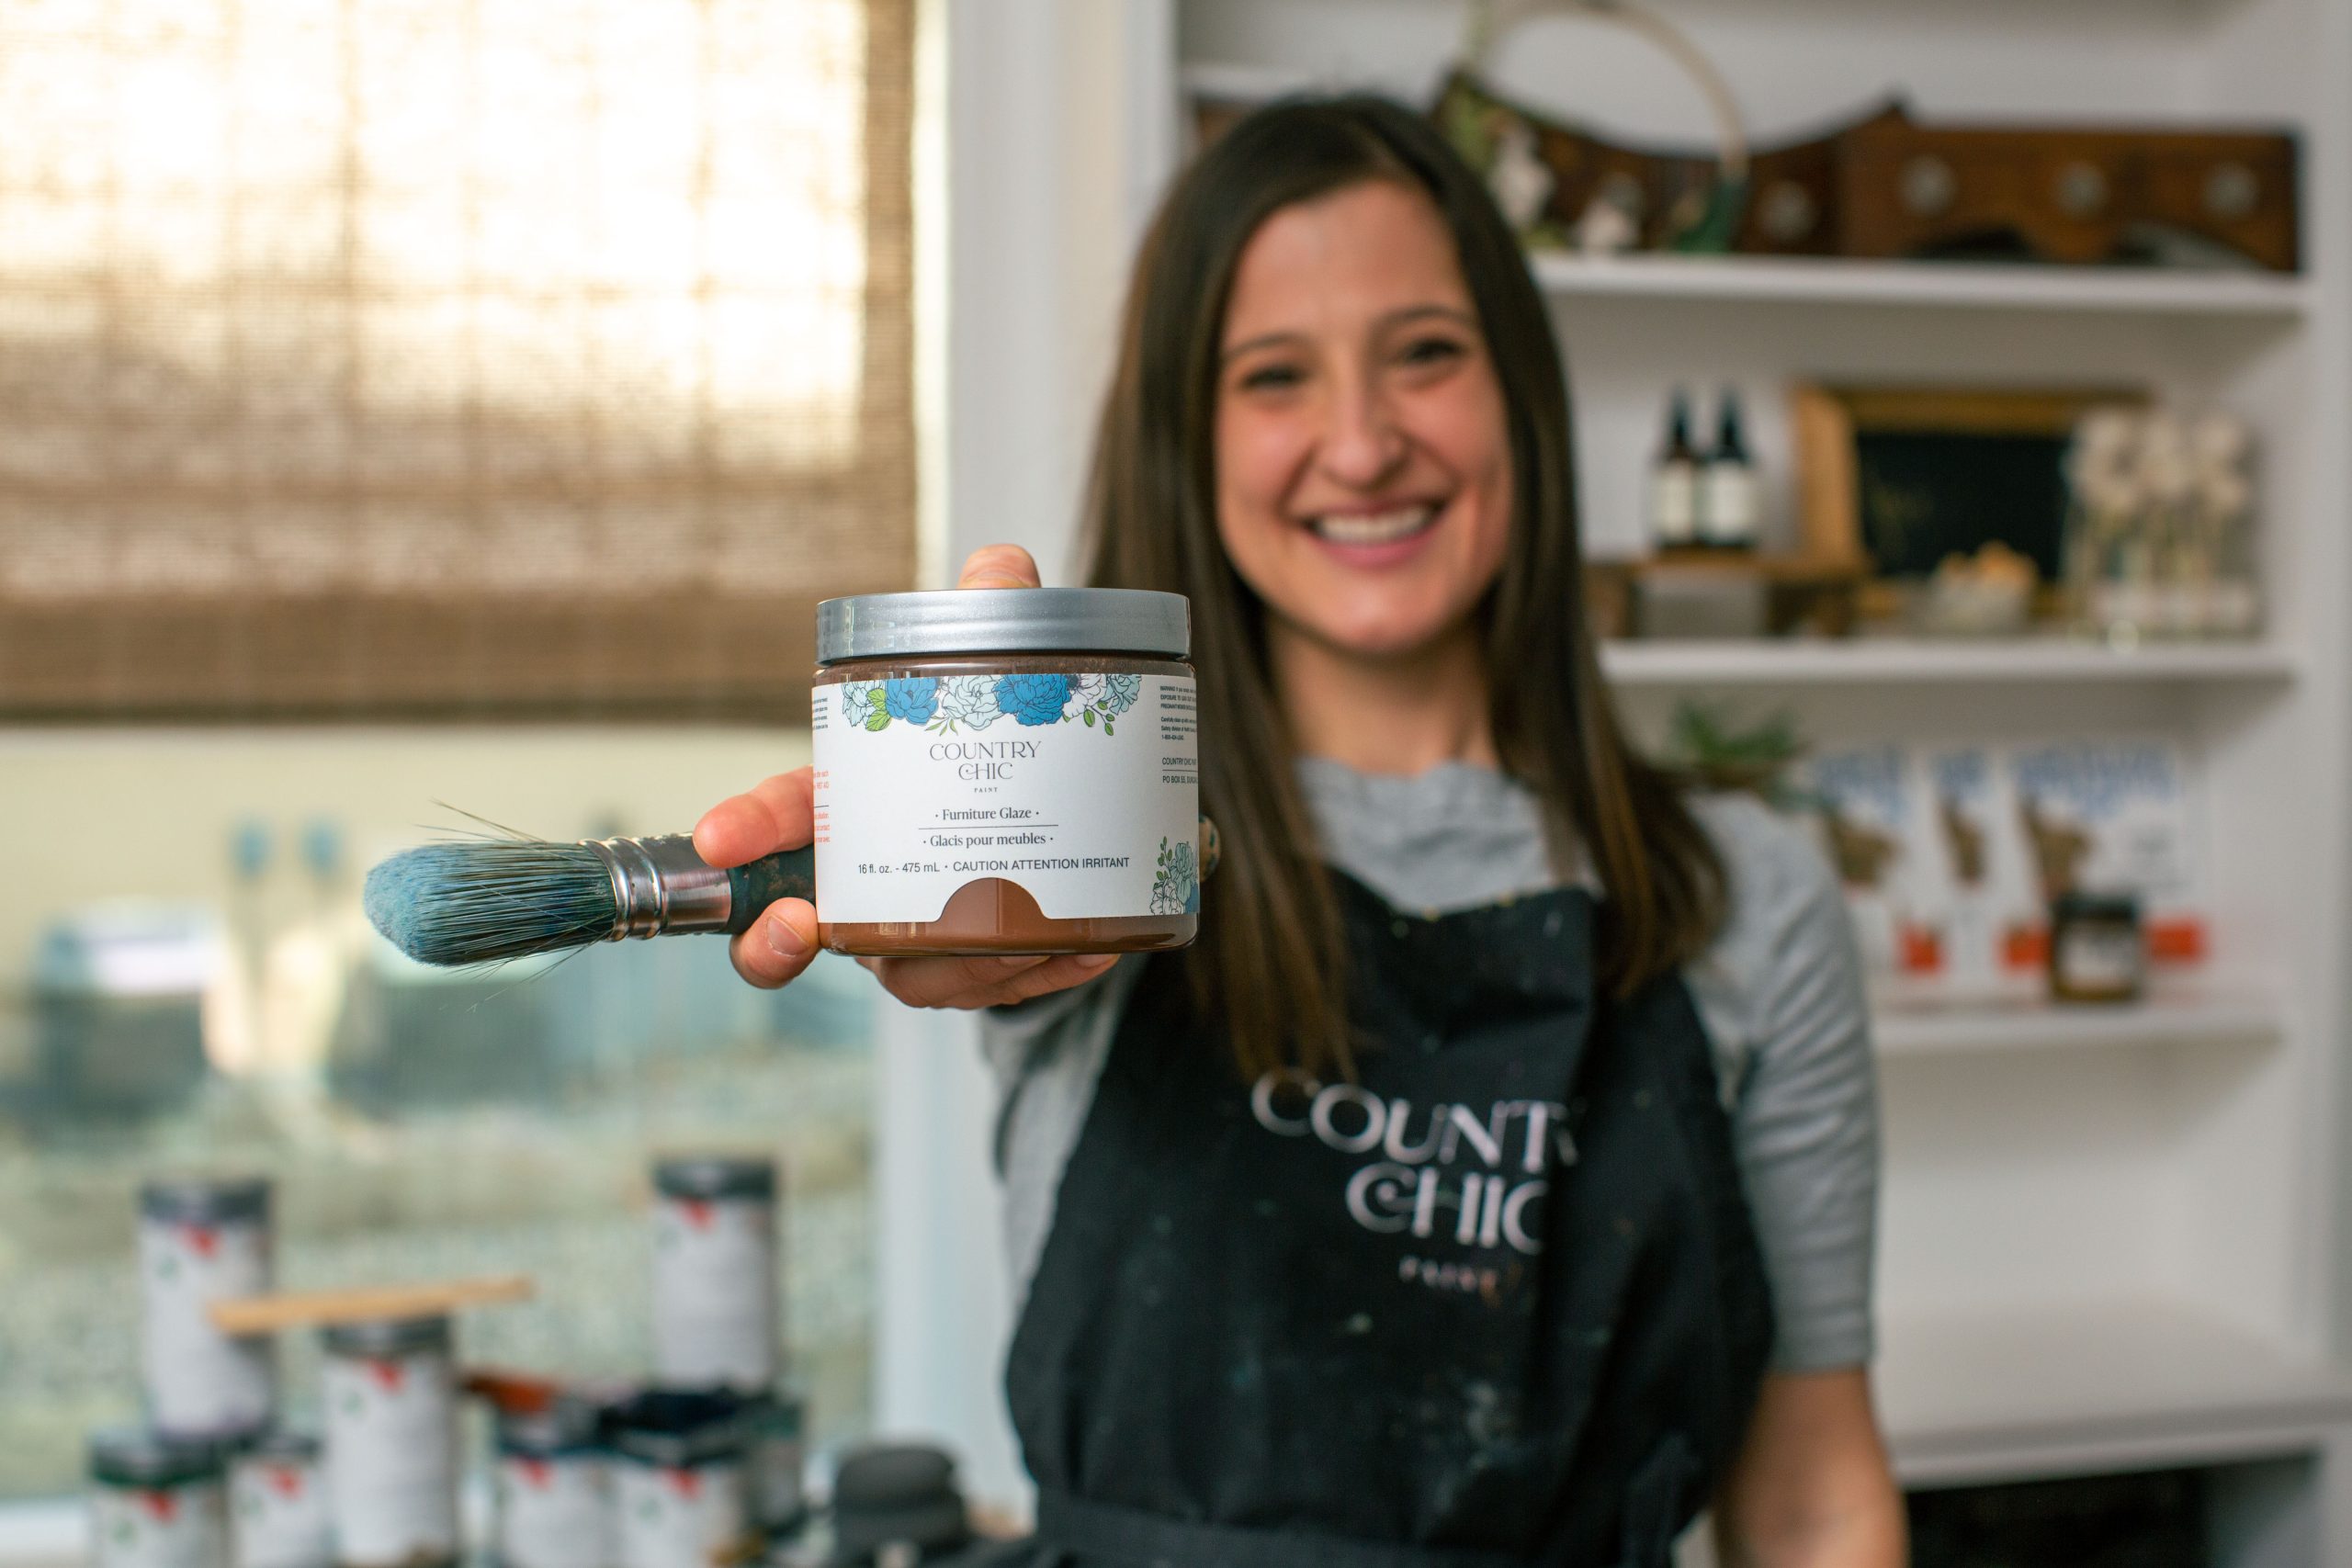
Furniture Glaze is a translucent, tinted liquid product specifically designed for use in furniture refinishing and decorative painting projects. The most common use of Furniture Glaze is to add depth, dimension, and visual interest to painted surfaces. When applied over a base coat of paint, the glaze settles into crevices, grooves, and details, highlighting these features and creating a subtle aged or distressed appearance. It can also be used to create decorative effects such as antiquing or faux wood grain. This allows for endless customization and creativity in furniture refinishing projects, enabling you to achieve a wide range of finishes from subtle to bold.
Country Chic Paint offers six different colors of Furniture Glaze:
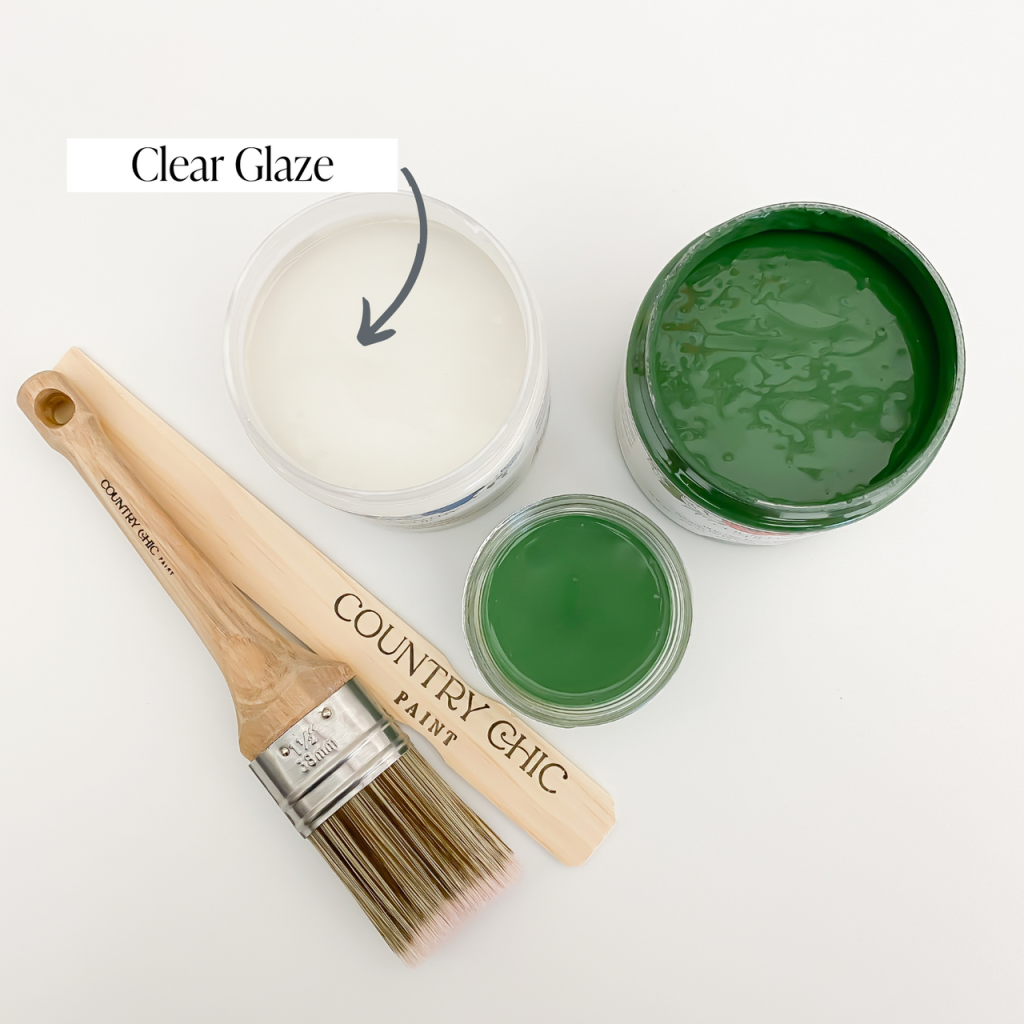
Furniture Glaze | Clear – Antique Patina Special Effects Glaze for Chalk Style Furniture Paint, Eco-Friendly Wood Stain
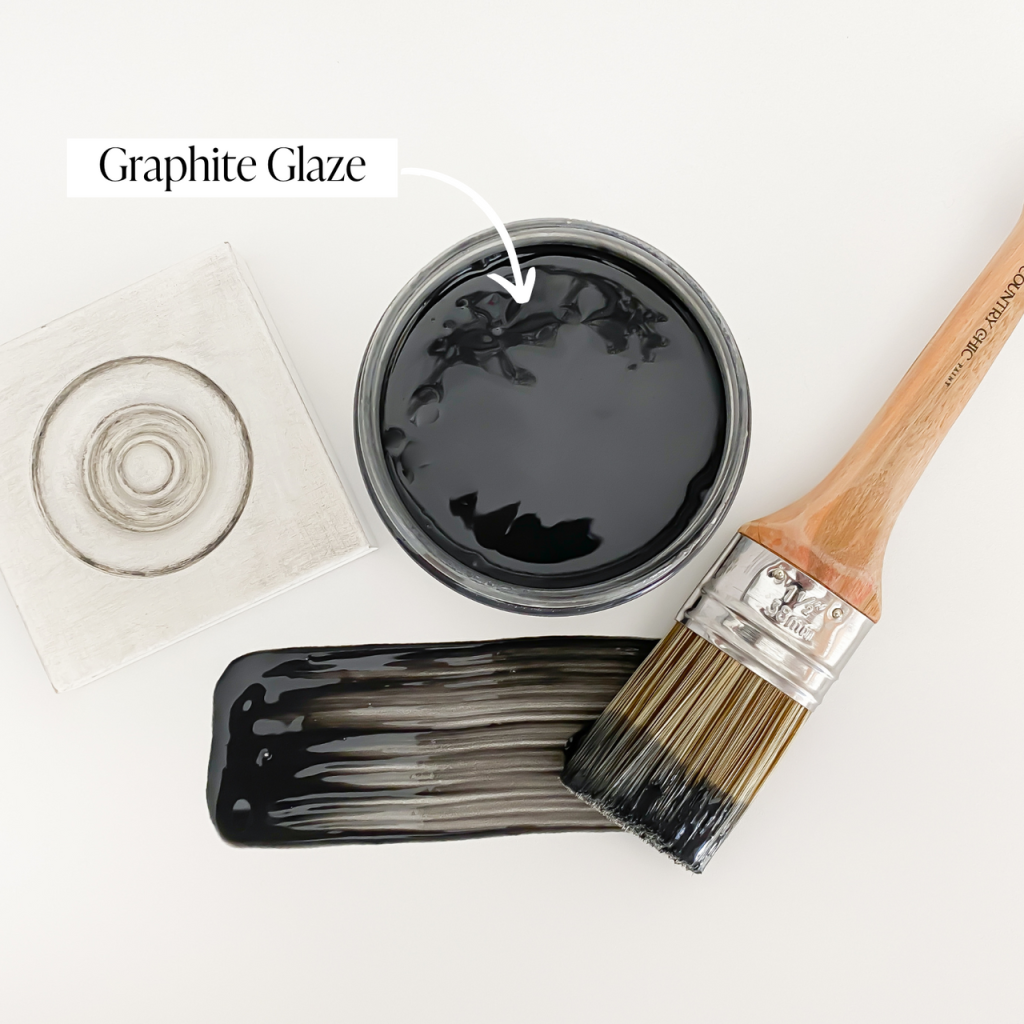
Furniture Glaze | Graphite – Antique Patina Special Effects Glaze for Chalk Style Furniture Paint, Eco-Friendly Wood Stain
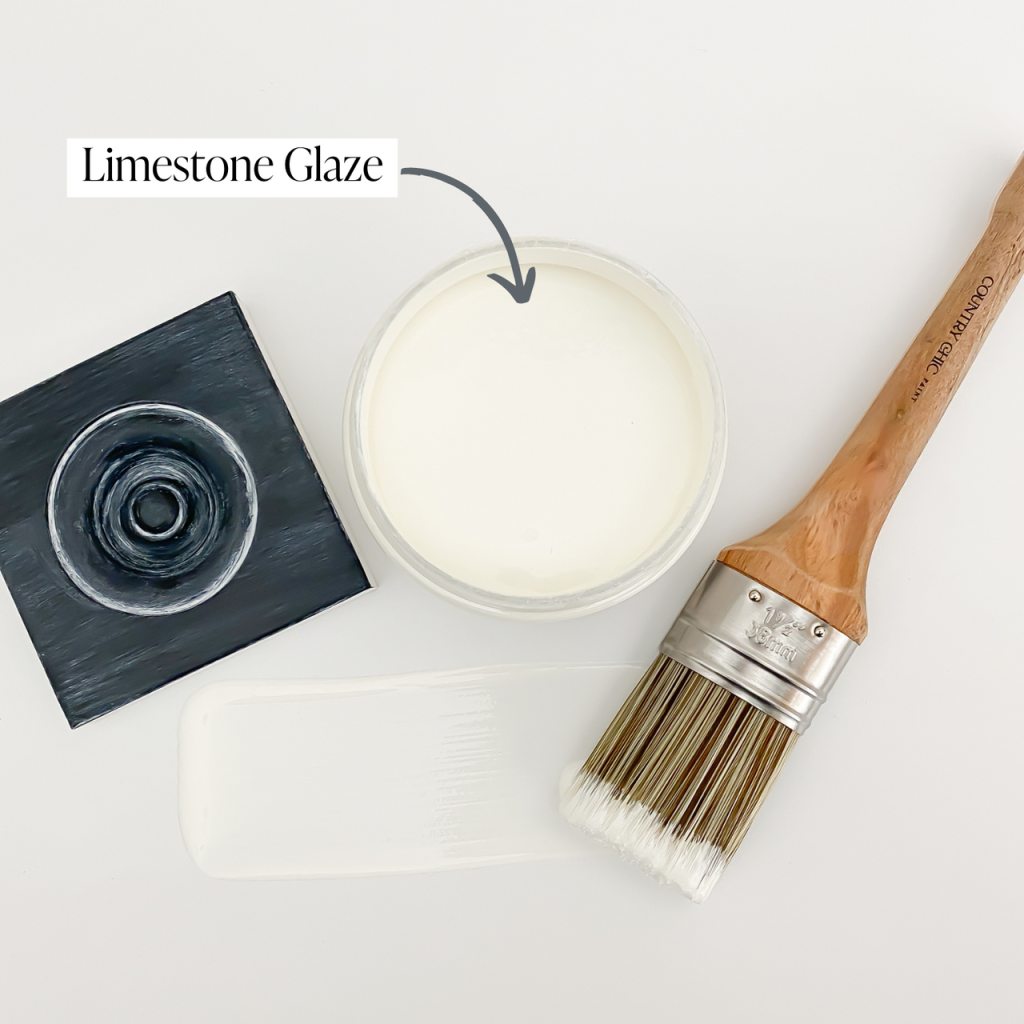
Furniture Glaze | Limestone – Antique Patina Special Effects Glaze for Chalk Style Furniture Paint, Eco-Friendly Wood Stain
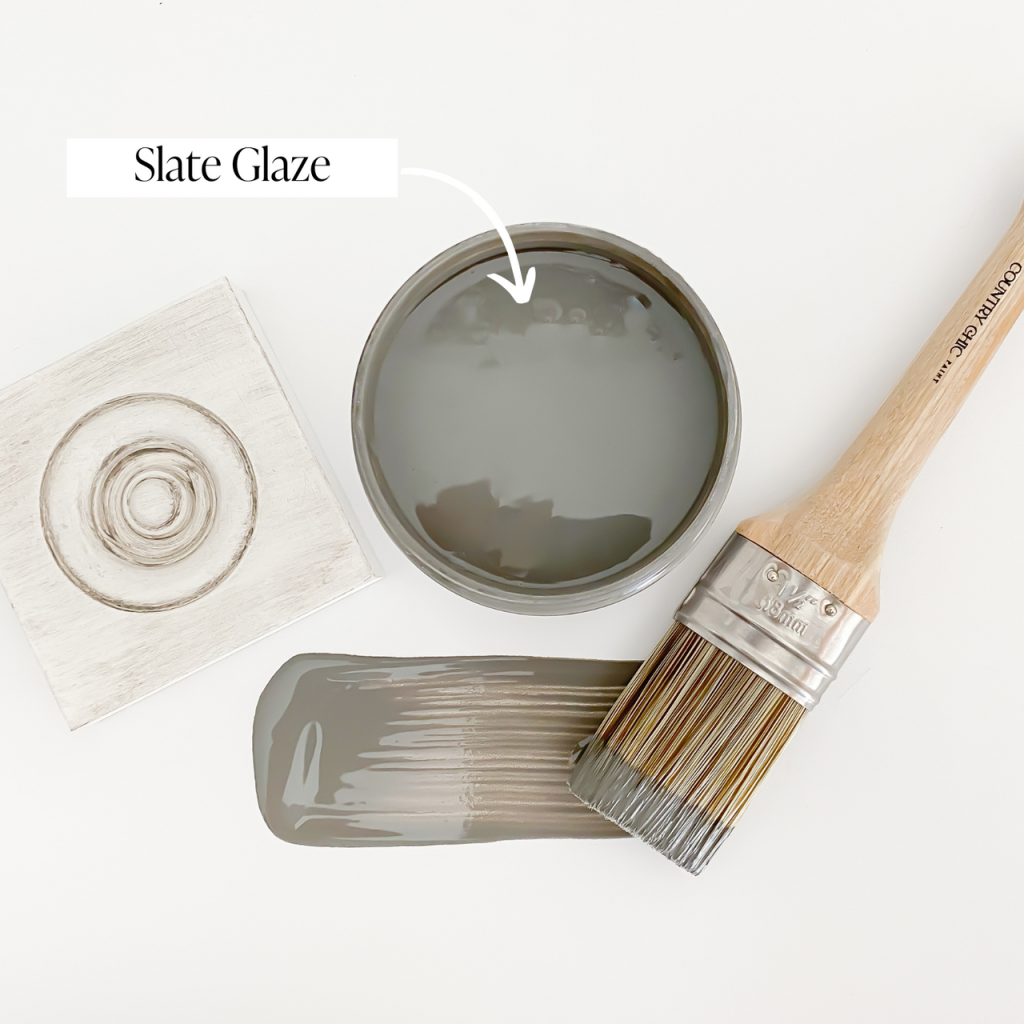
Furniture Glaze | Slate – Antique Patina Special Effects Glaze for Chalk Style Furniture Paint, Eco-Friendly Wood Stain
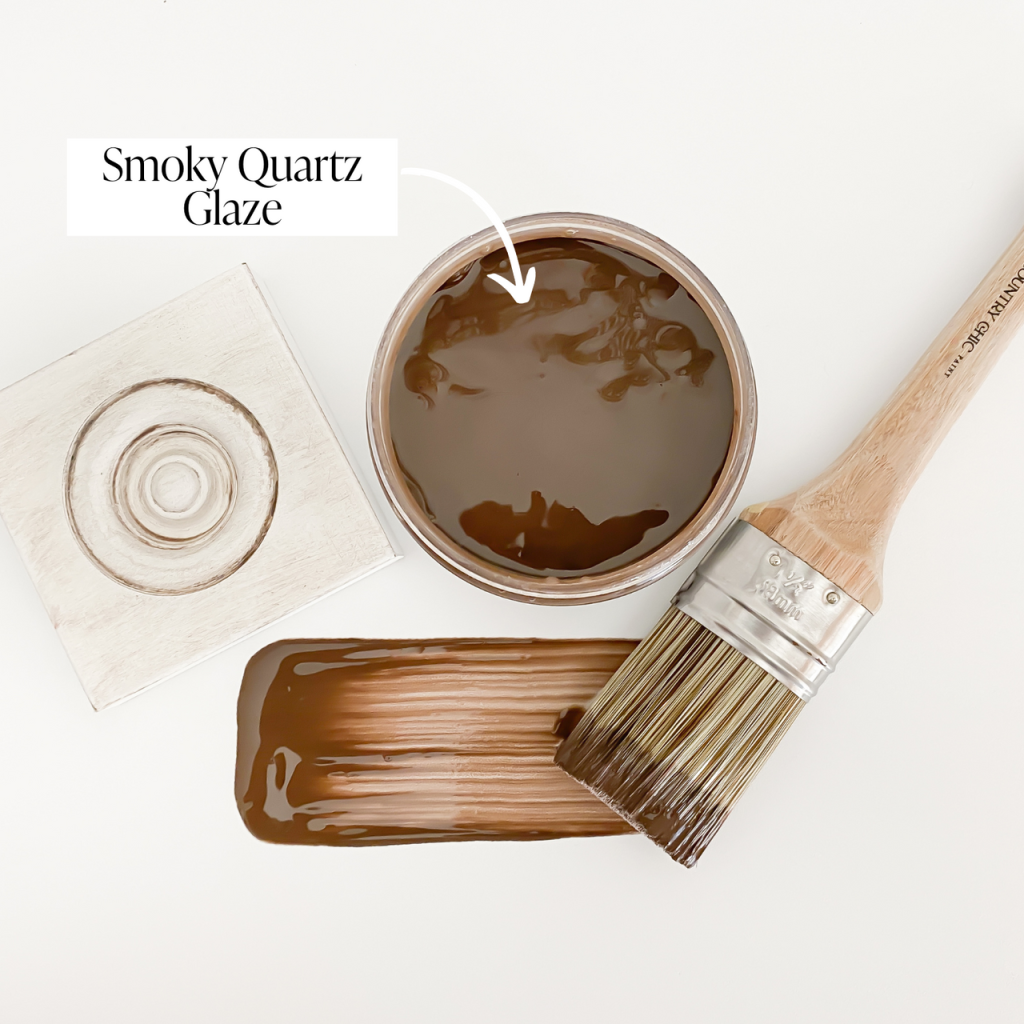
Furniture Glaze | Smoky Quartz – Antique Patina Special Effects Glaze for Chalk Style Furniture Paint, Eco-Friendly Wood Stain
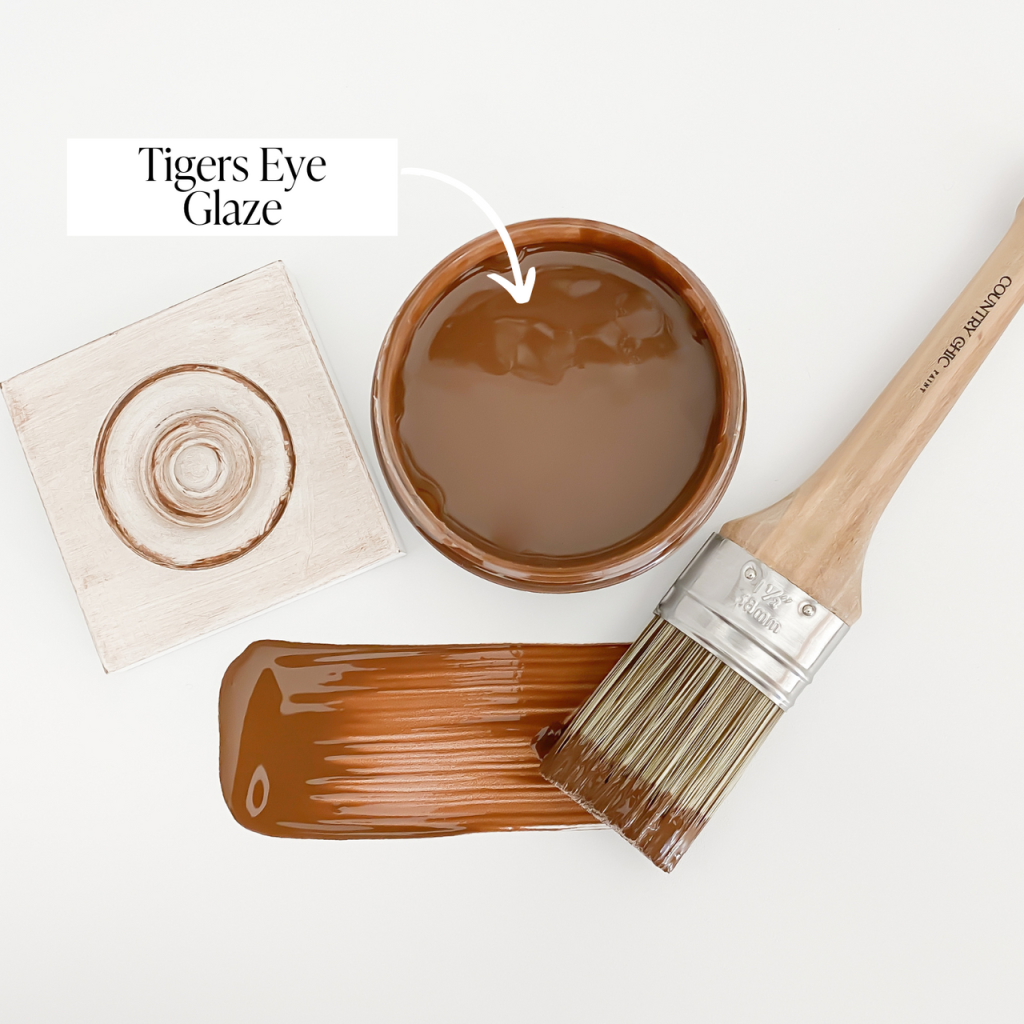
Furniture Glaze | Tiger’s Eye – Antique Patina Special Effects Glaze for Chalk Style Furniture Paint, Eco-Friendly Wood Stain
So what are the steps you have to take to stain your DIY project with Furniture Glaze? Let us walk you through it!
Step 1) Ensure your wood is clean and raw
Even if your project looks clean, we recommend wiping it down with a vinegar water mixture before you dive in. You’ll be surprised what can be hiding there!
This staining effect works best on raw wood. If your furniture has old paint, stain, or a top coat on it, you’ll want to start by sanding it down. This can be done with a handheld electric sander or manually with a sanding block.
After sanding, make sure to vacuum and clean off the wood with a clean, damp cloth to get rid of any left over debris.
Staining your wood pieces with Furniture Glaze is best for raw, natural wood. Glaze won’t be able to soak into the finish of faux wood products like laminate or melamine in the same way. For more information on how to tell the difference between real wood and faux wood, click here.
Step 2) Apply your first coat of Glaze
Start by giving your glaze jar a good shake and a stir to make sure the ingredients are well combined.
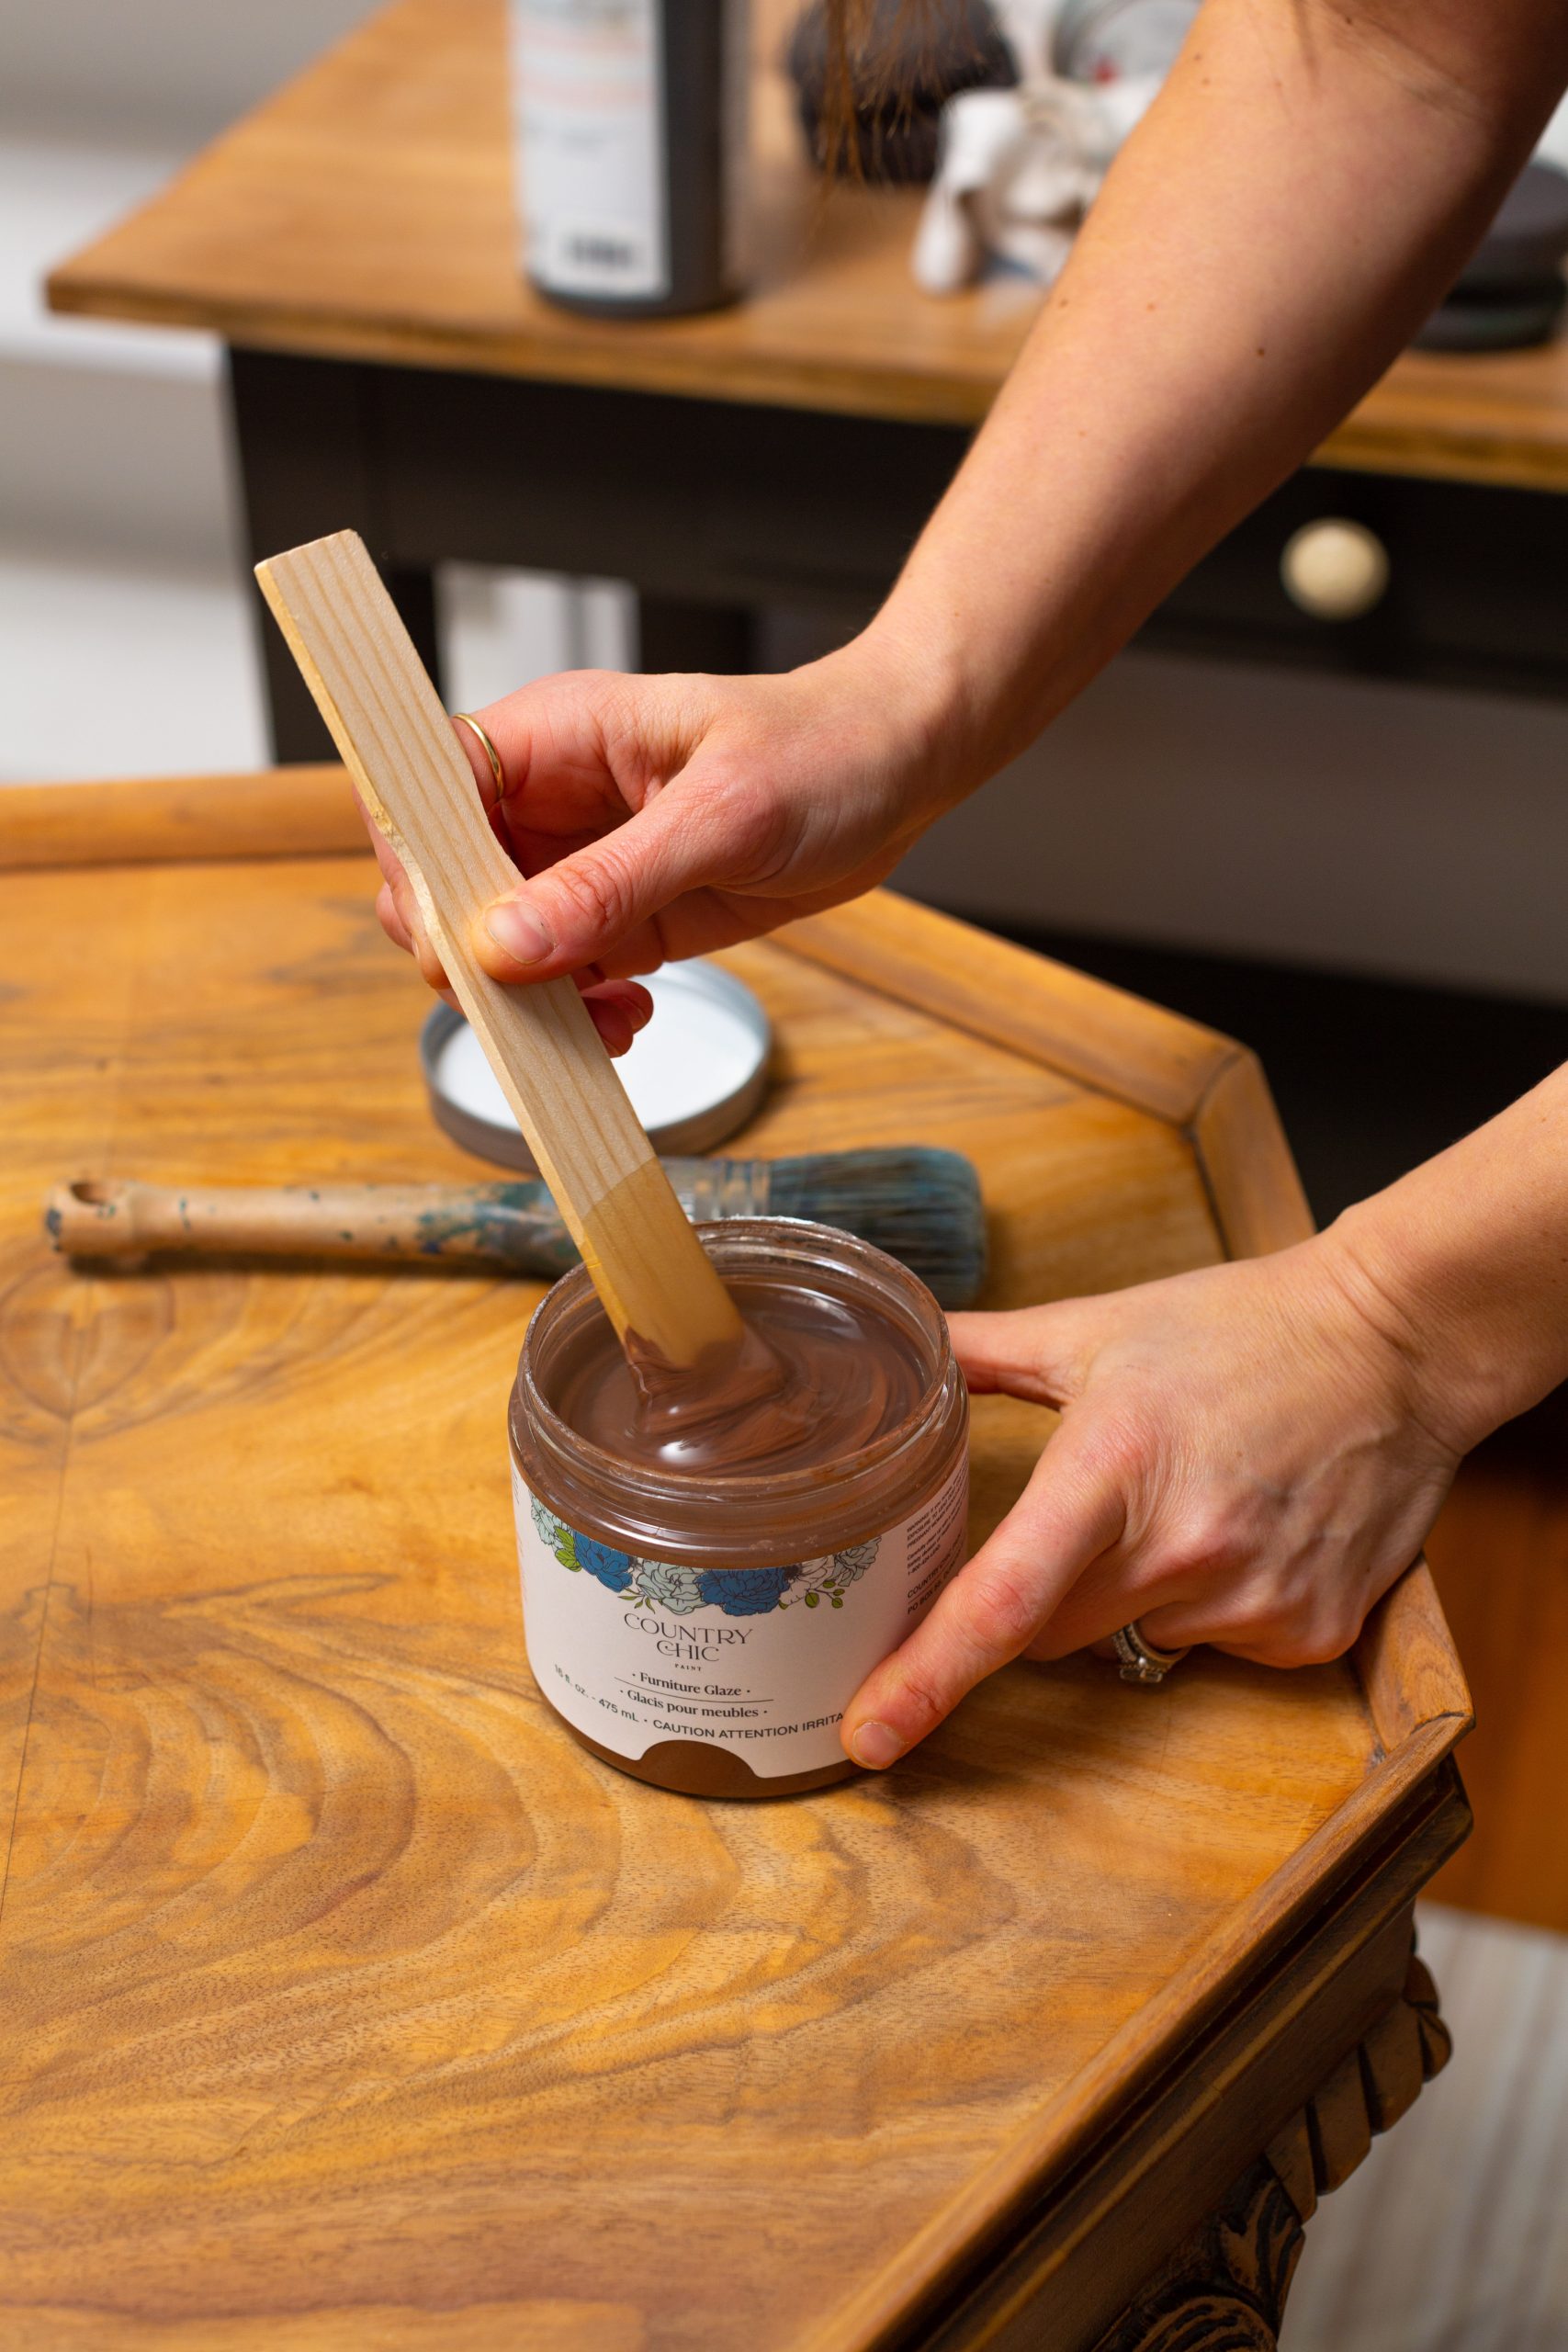
We like to use a Painting Sponge for this technique because it applies nice smooth coats, quickly and evenly. You can also use a synthetic bristle paint brush if you prefer. Work in small sections, applying the glaze evenly and consistently. Make sure to work the glaze into any crevices, corners, or decorative details for a uniform finish.
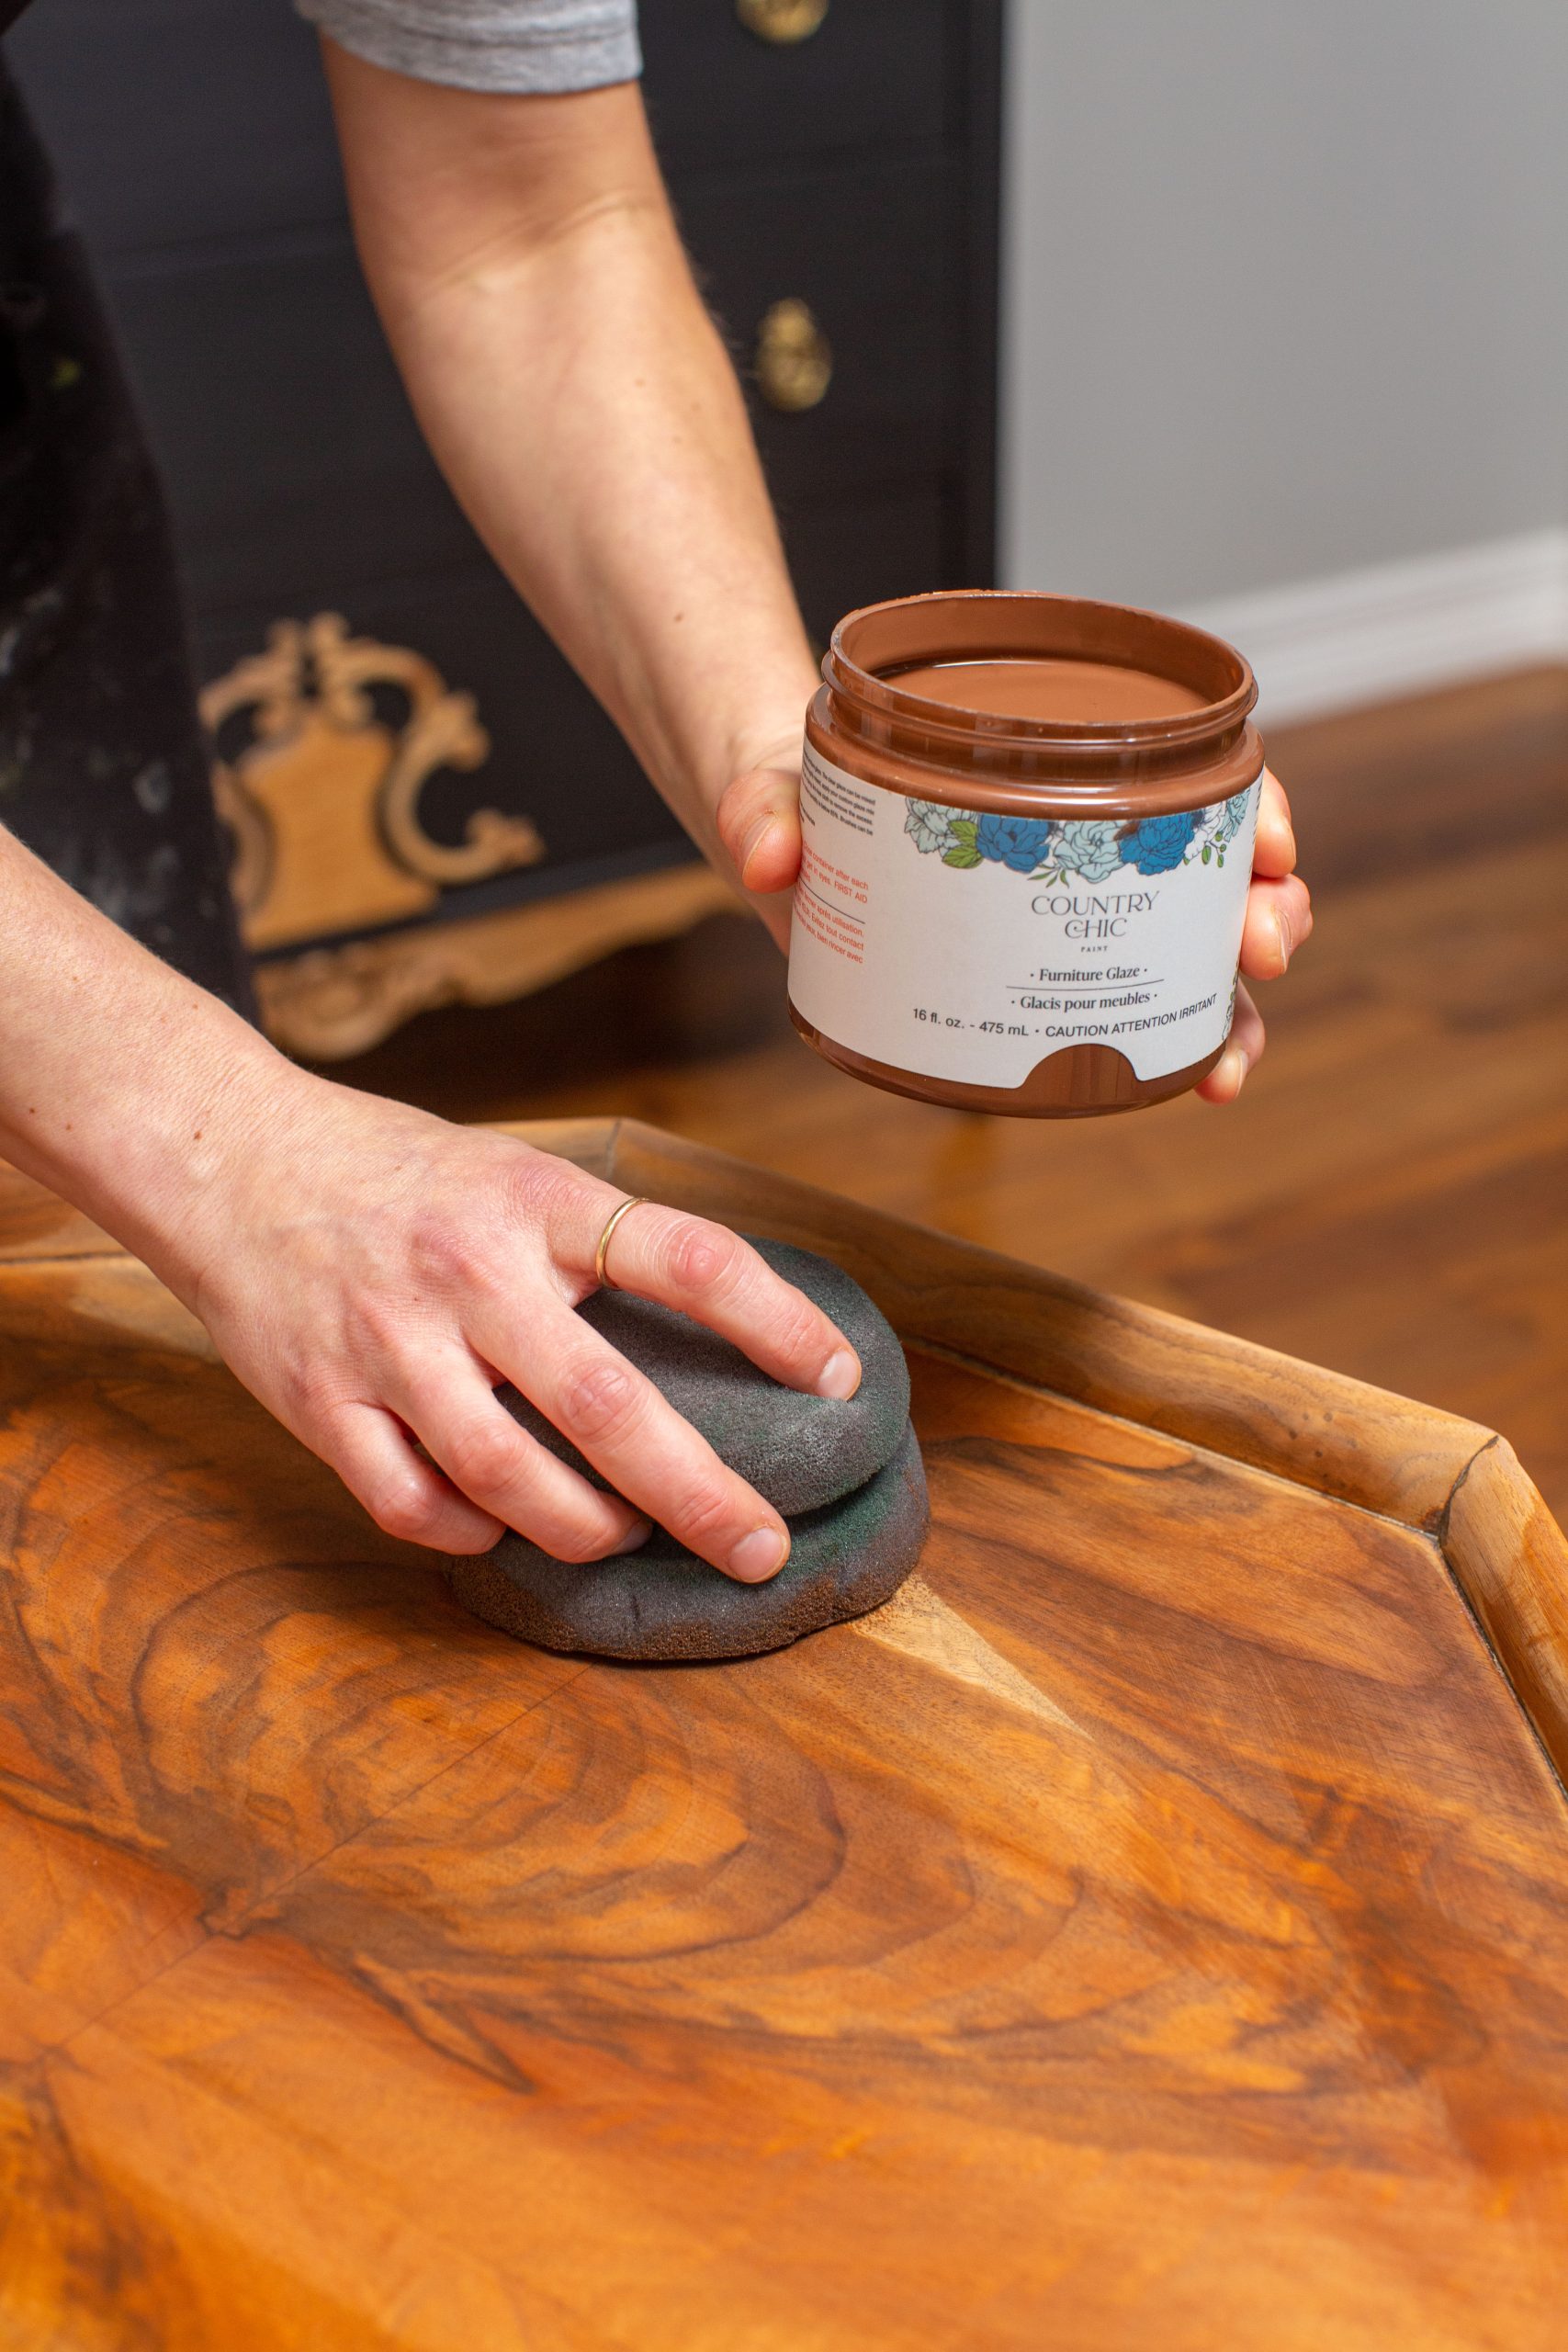
If you apply too much glaze to an area, use a clean, damp cloth to gently wipe the excess away.
Let the first coat of glaze dry for 1-2 hours before proceeding with any additional layers or finishing steps. Rushing the drying process can lead to an uneven finish and affect the final look of your project.
Step 3) Add a second layer of glaze (optional)
Again, make sure your first coat of glaze is 100% dry before applying the second coat. This step is optional. You may find that you’re already happy with the color and you don’t need to apply another layer of glaze! Depending on your desired look and color, a second coat can help to ensure full, even coverage.
You can apply a second coat of the same color to make it a bit darker, or try experimenting with layering multiple colors.
Step 4) Apply a Sealant (optional)
This step is also optional, but if you’re glazing something that will get a little bit more wear and tear such as a coffee table top, you might want to apply Wax, Hemp Oil to add protection. If your project is very high traffic (like a dining table top) or will be used outdoors, seal it with Clear Coat.
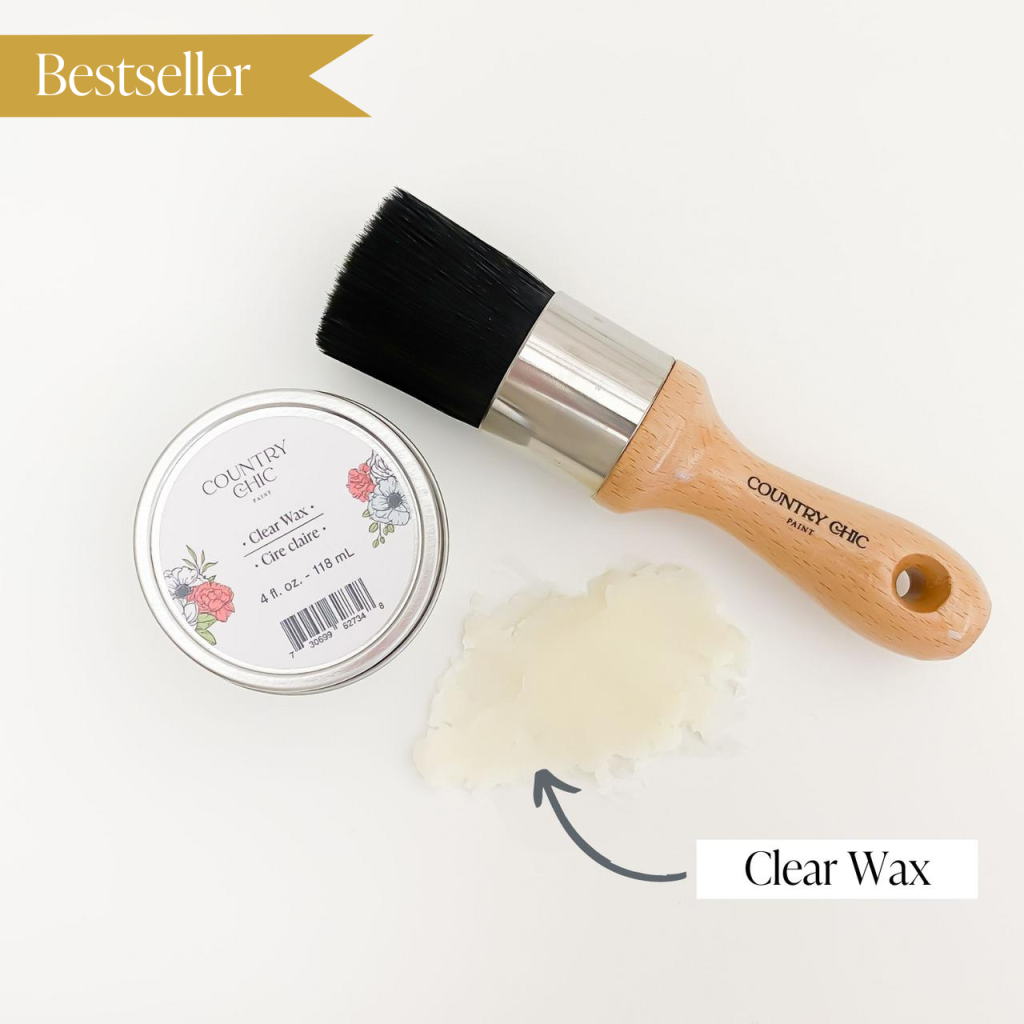
Clear/Natural Wax – Natural Sealant for Chalk Furniture Paint or Raw Wood
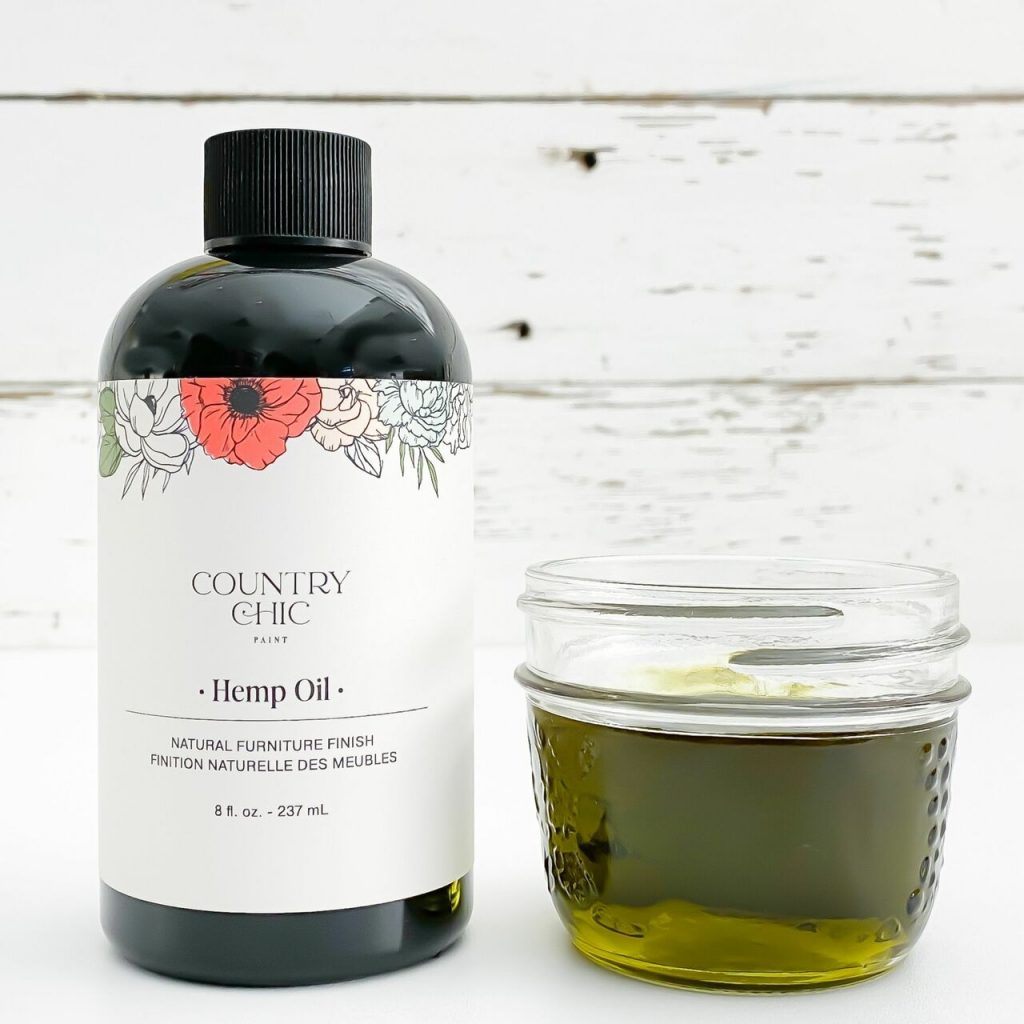
Hemp Oil – 100% Natural Furniture Sealant, Protect Chalk Furniture Paint or Raw Wood, Dries Clear, Wood Finishing Oil
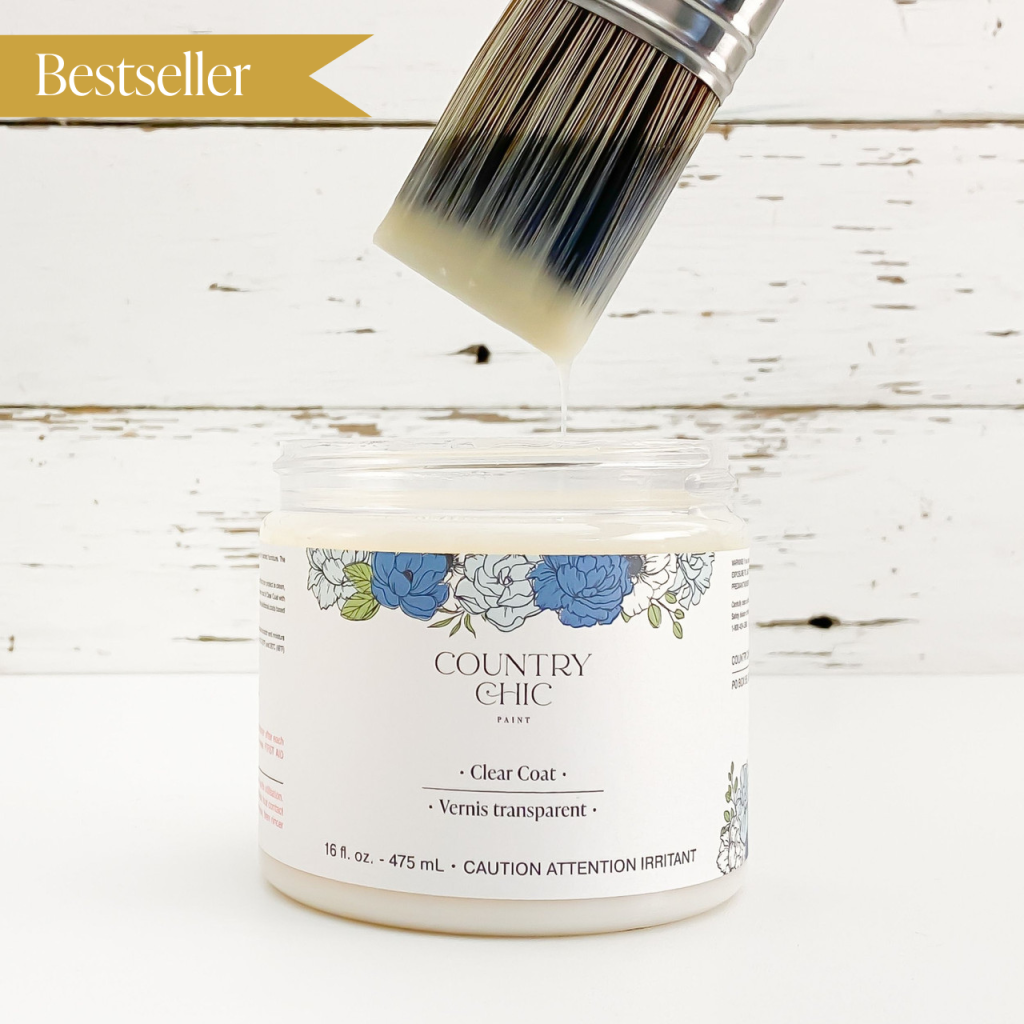
Clear Coat – Eco-Friendly Clear Satin Sheen Top Coat for Chalk Style Furniture Paint, Very Durable, Non Yellowing, Waterproof Sealant
Still not sure if Furniture Glaze is the right fit for your project?
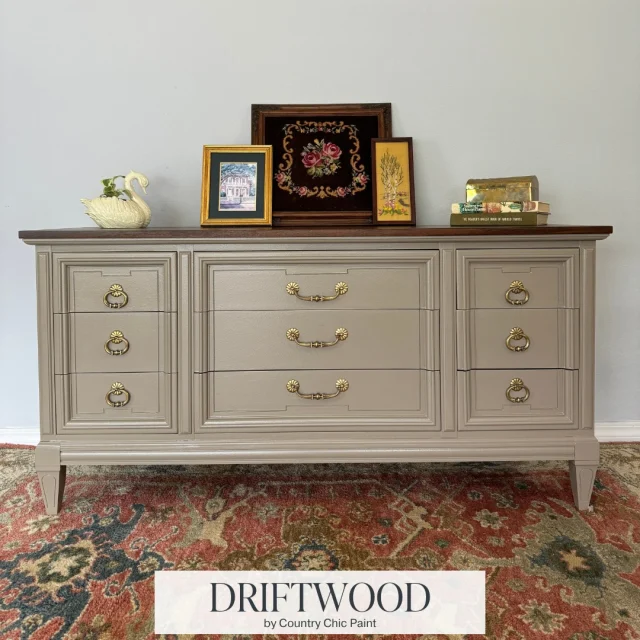
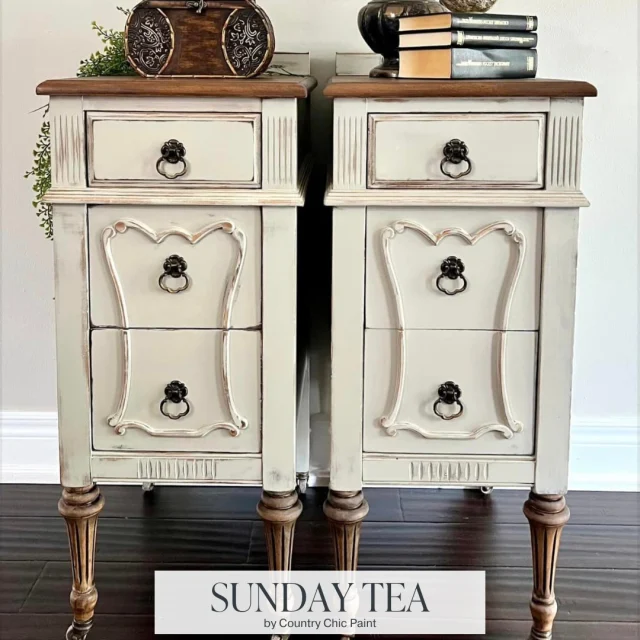
Here are a few different examples of what you can create using Furniture Glaze over painted furniture or raw wood. Applying a glaze to furniture pieces can create stunning results, and there are a HUGE range of possibilities!
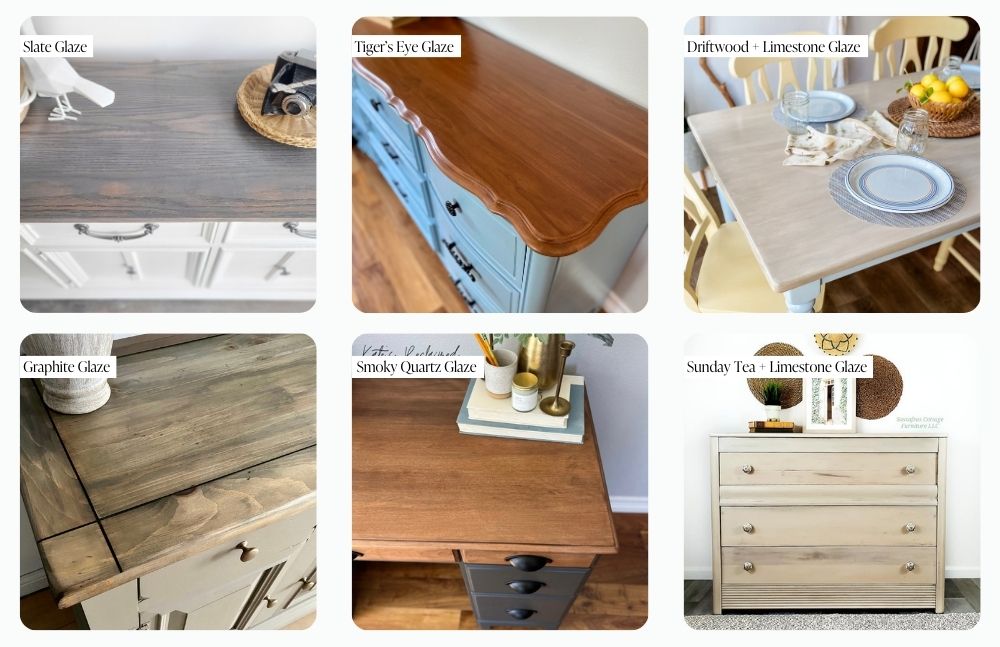
- Slate Glaze by Lubbly Jubbly Furniture
- Tigers Eye by Kate’s Reclaimed
- Driftwood and Limestone Glaze – by Colleeflowers Corner
- Graphite Glaze by Restore Reimagined
- Smoky Quartz by Kate’s Reclaimed
- Sunday tea and Limestone Glaze by SassaFras Cottage
Shop all Furniture Glaze colors

Furniture Glaze | Graphite – Antique Patina Special Effects Glaze for Chalk Style Furniture Paint, Eco-Friendly Wood Stain

Furniture Glaze | Smoky Quartz – Antique Patina Special Effects Glaze for Chalk Style Furniture Paint, Eco-Friendly Wood Stain

Furniture Glaze | Tiger’s Eye – Antique Patina Special Effects Glaze for Chalk Style Furniture Paint, Eco-Friendly Wood Stain

Furniture Glaze | Slate – Antique Patina Special Effects Glaze for Chalk Style Furniture Paint, Eco-Friendly Wood Stain

Furniture Glaze | Limestone – Antique Patina Special Effects Glaze for Chalk Style Furniture Paint, Eco-Friendly Wood Stain


